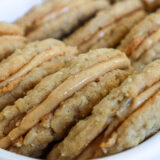
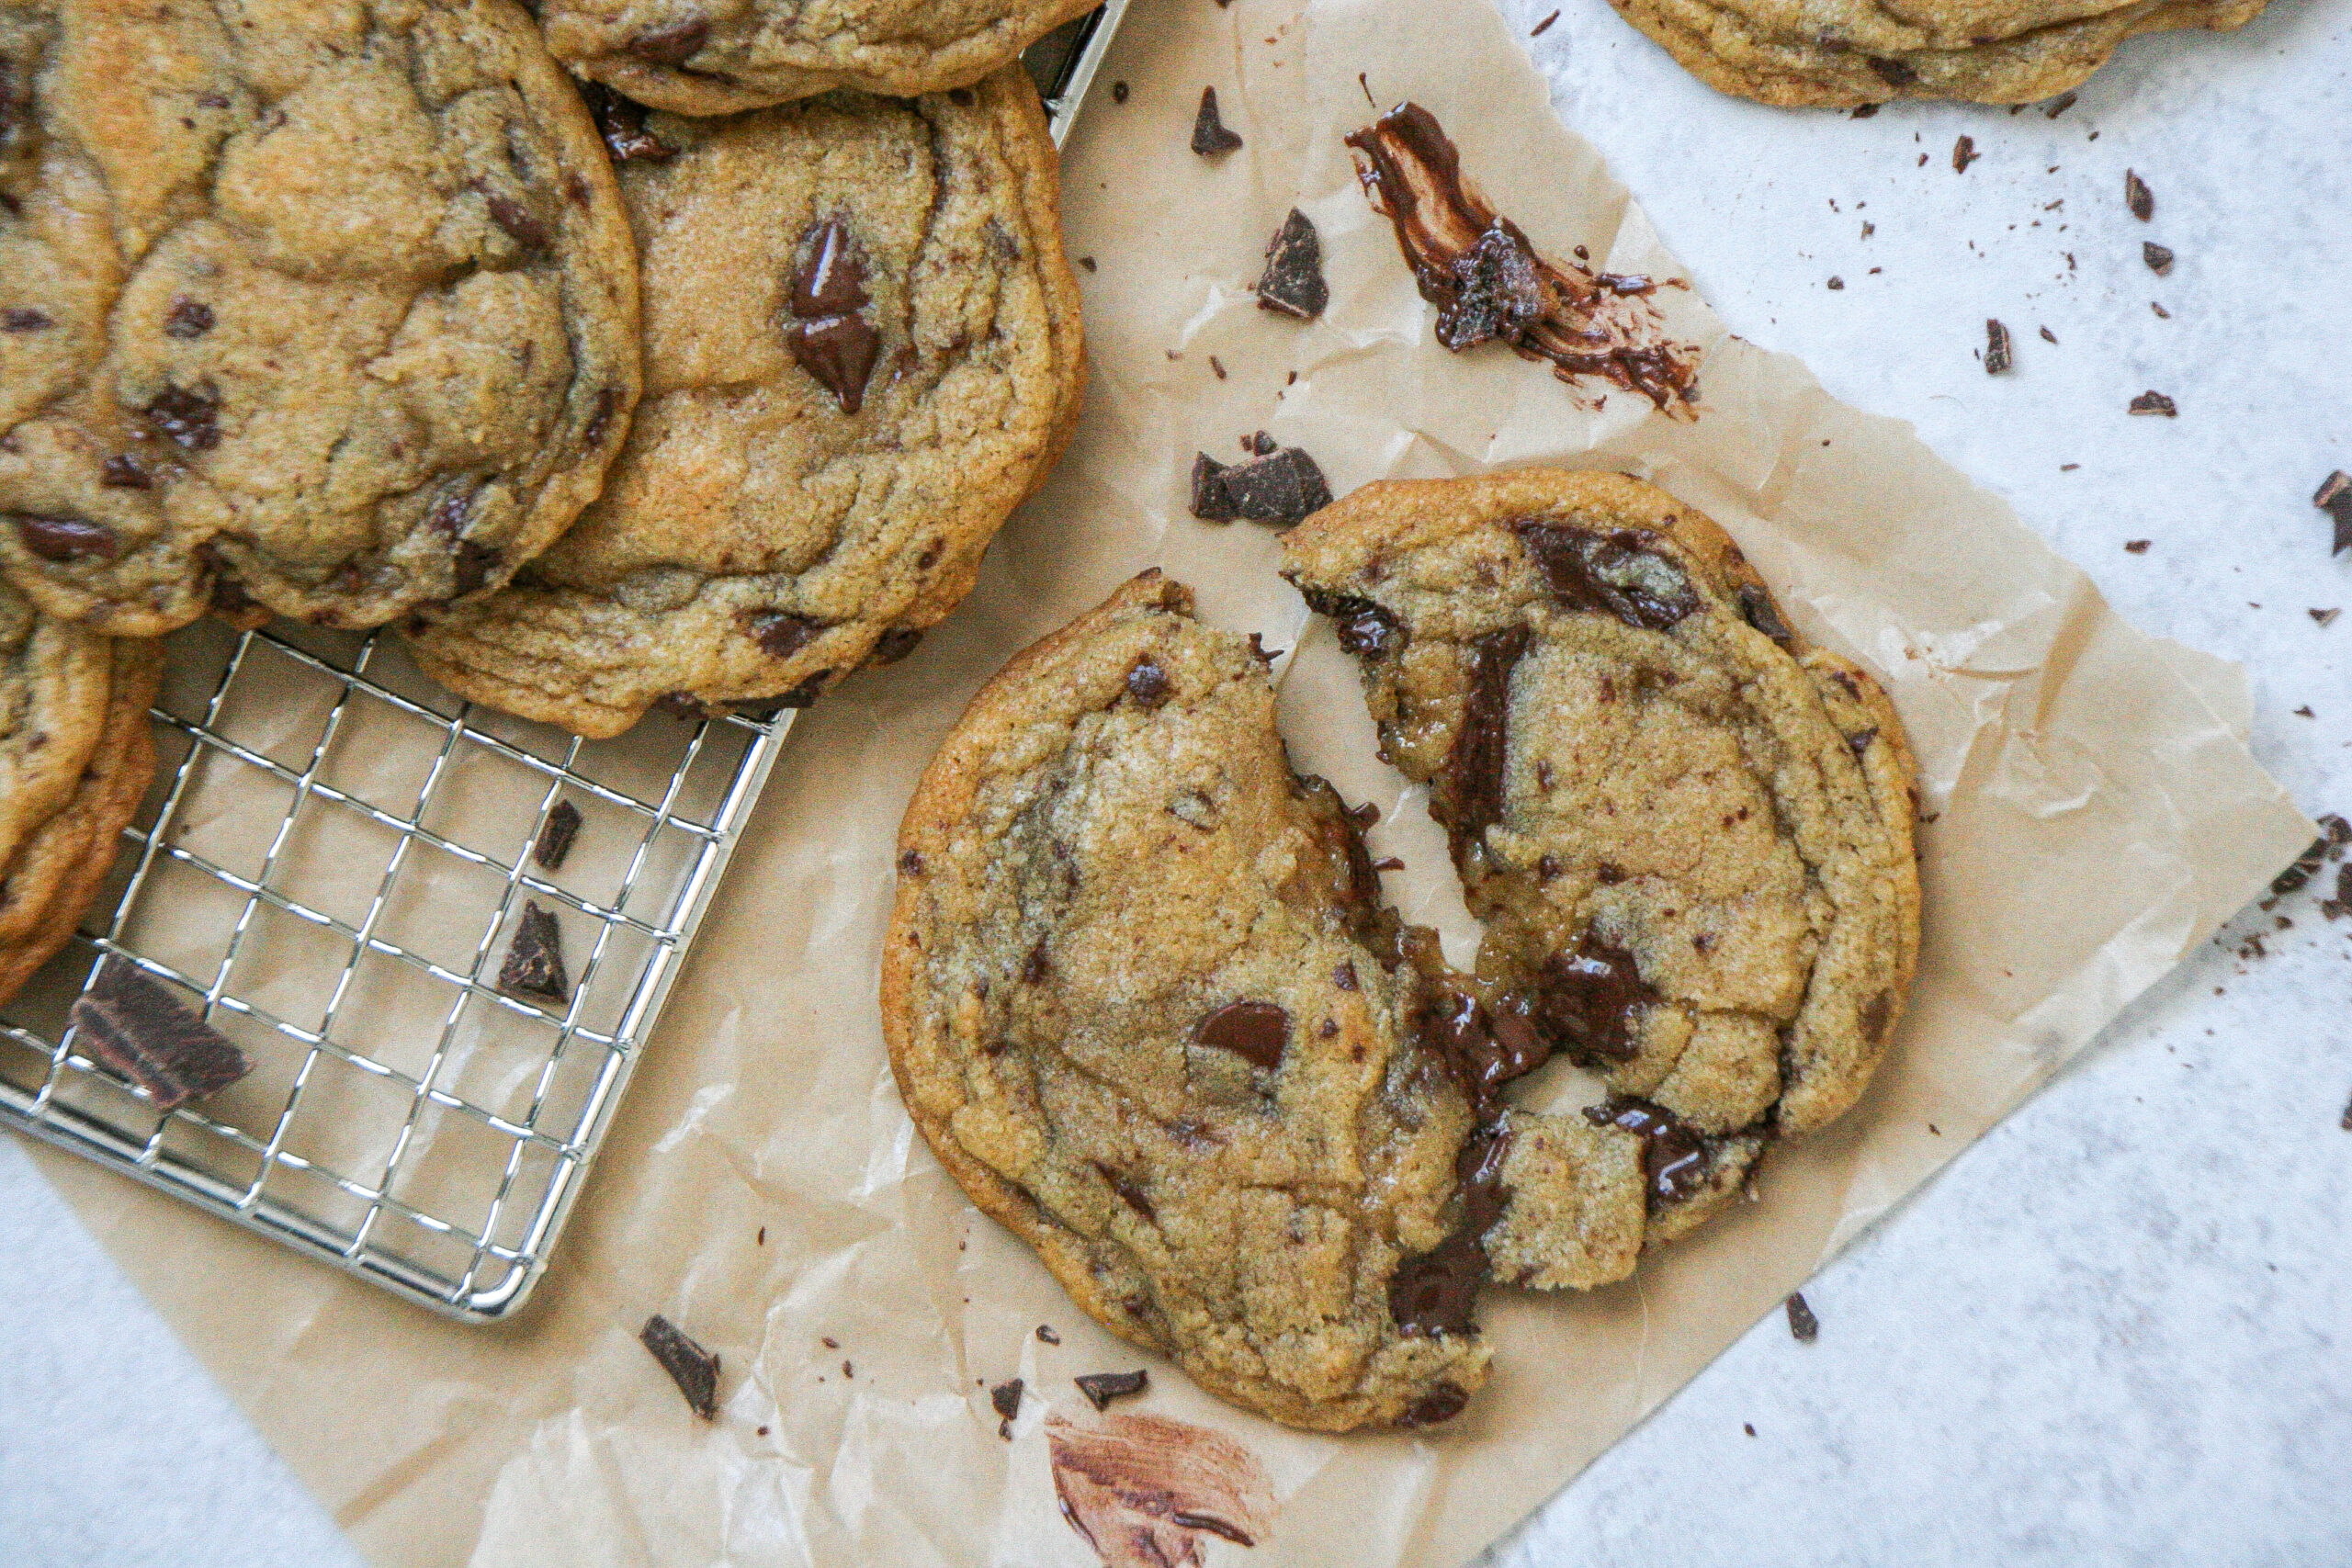
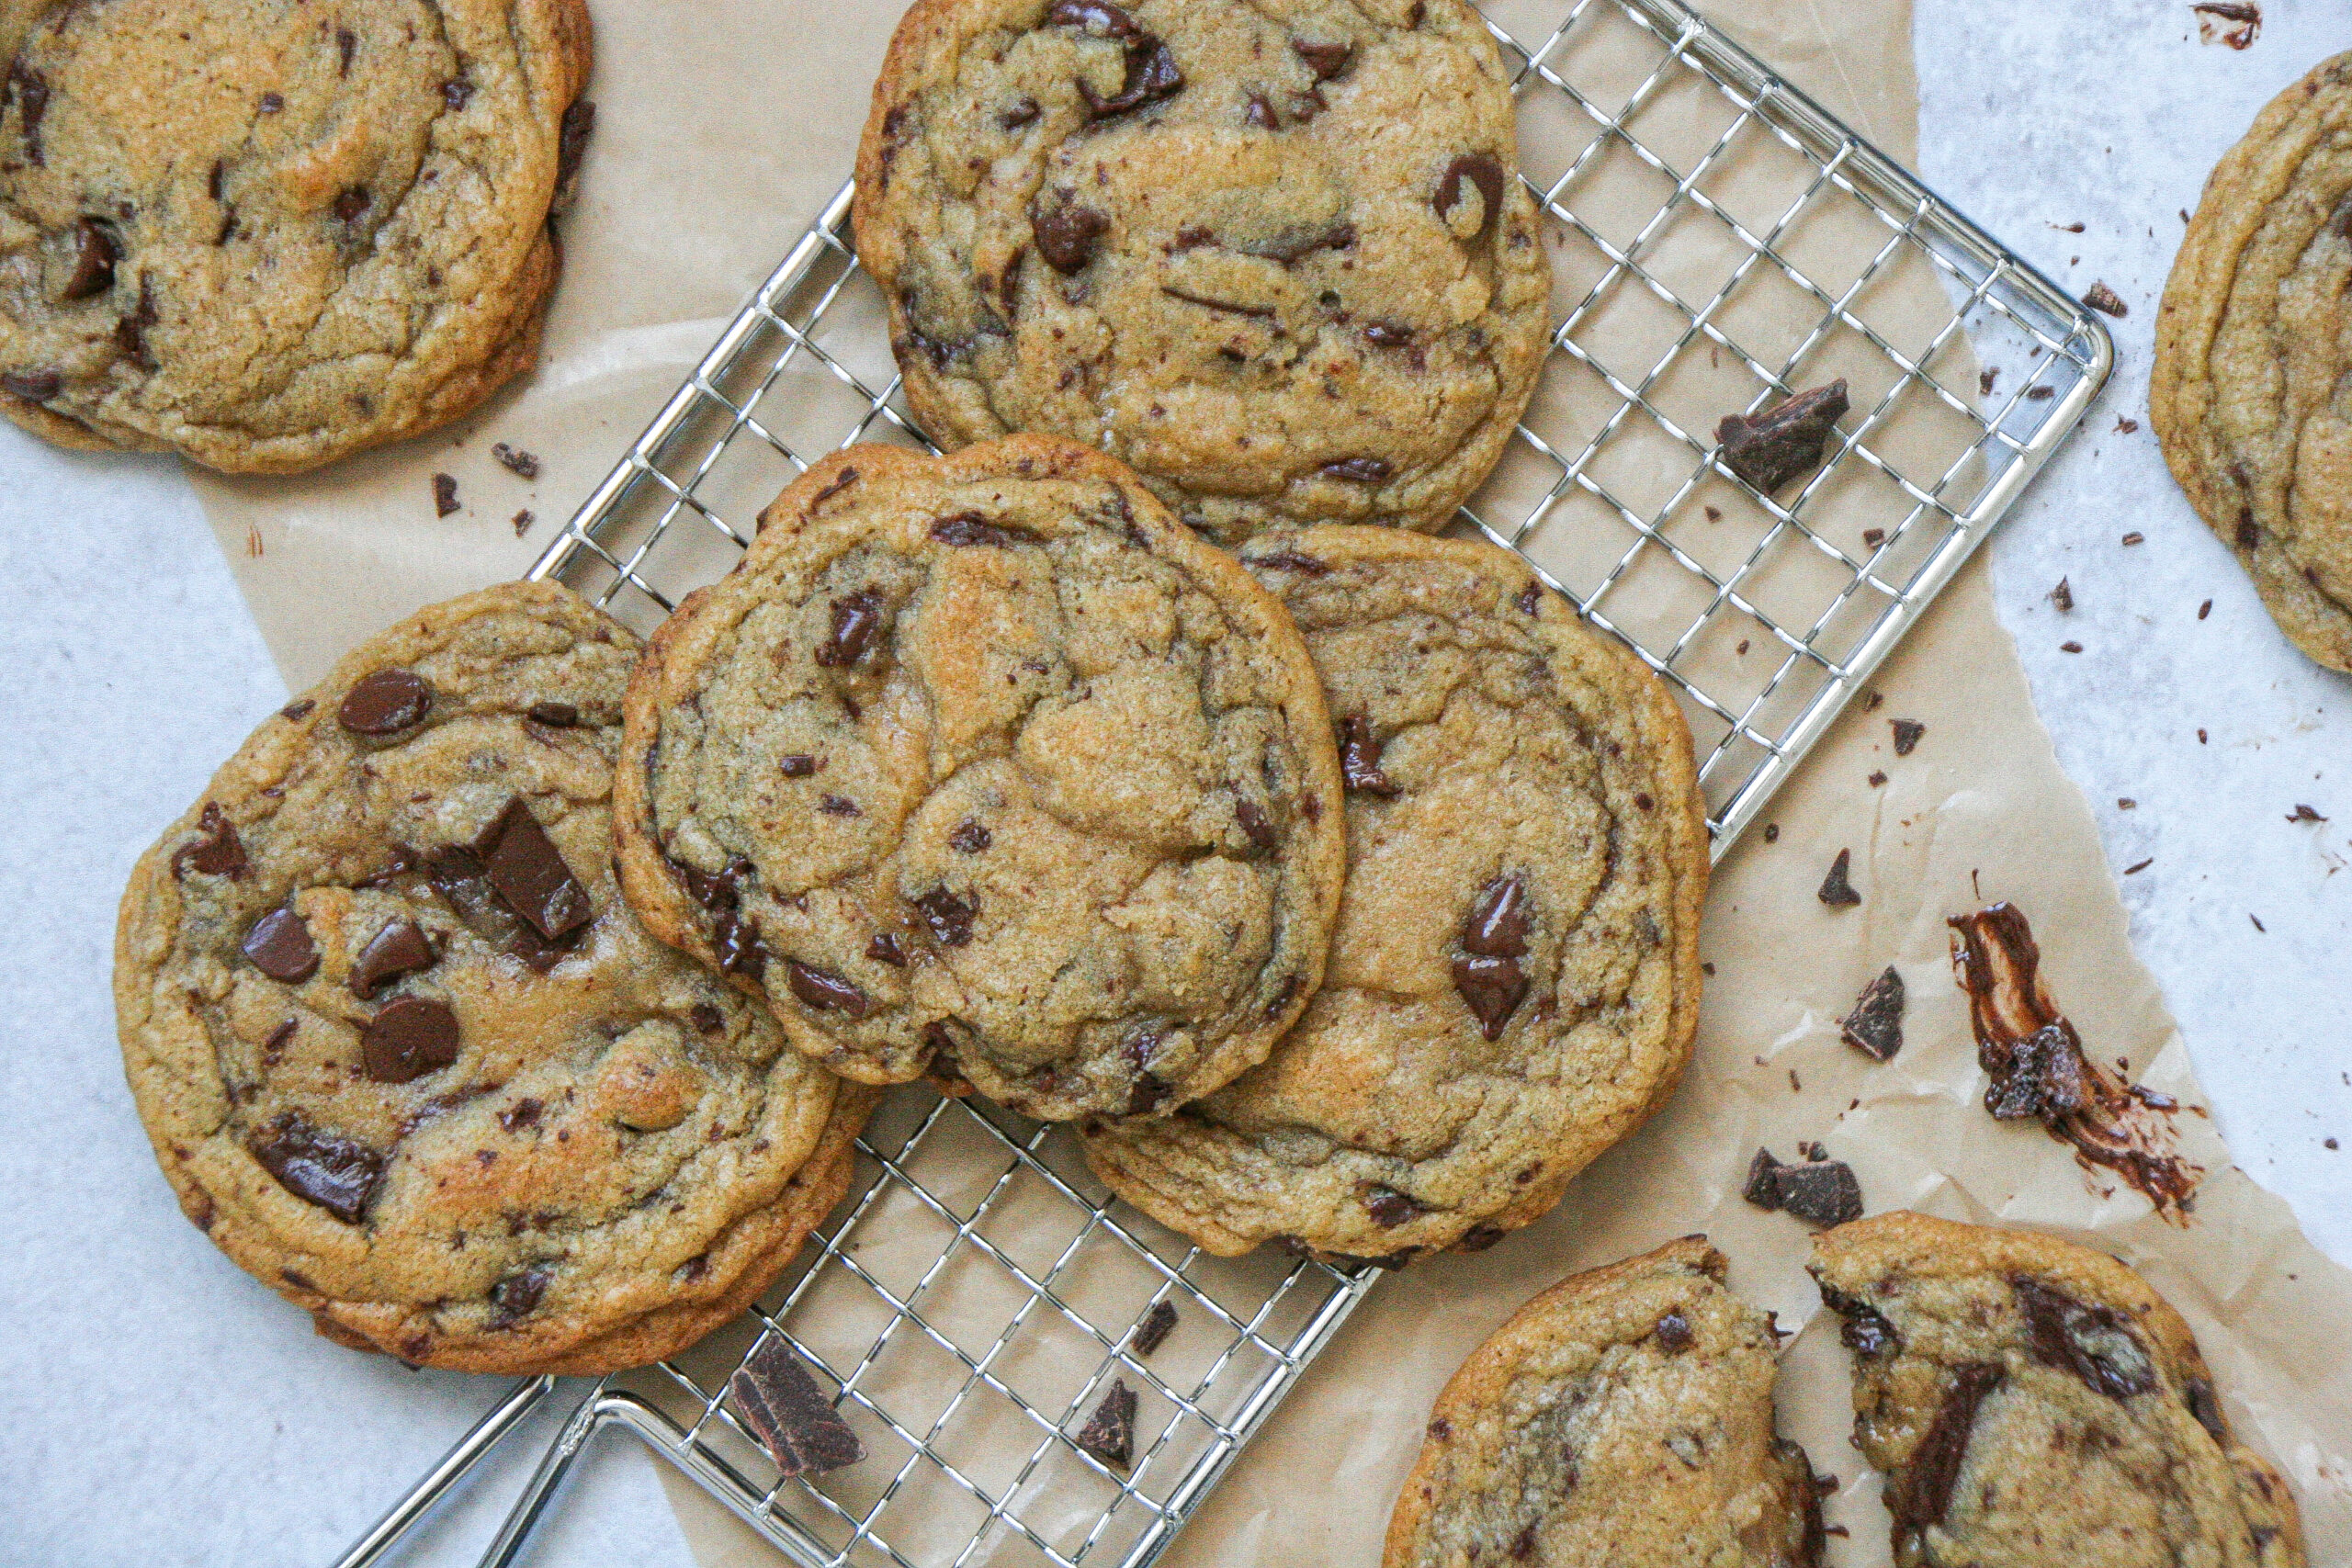
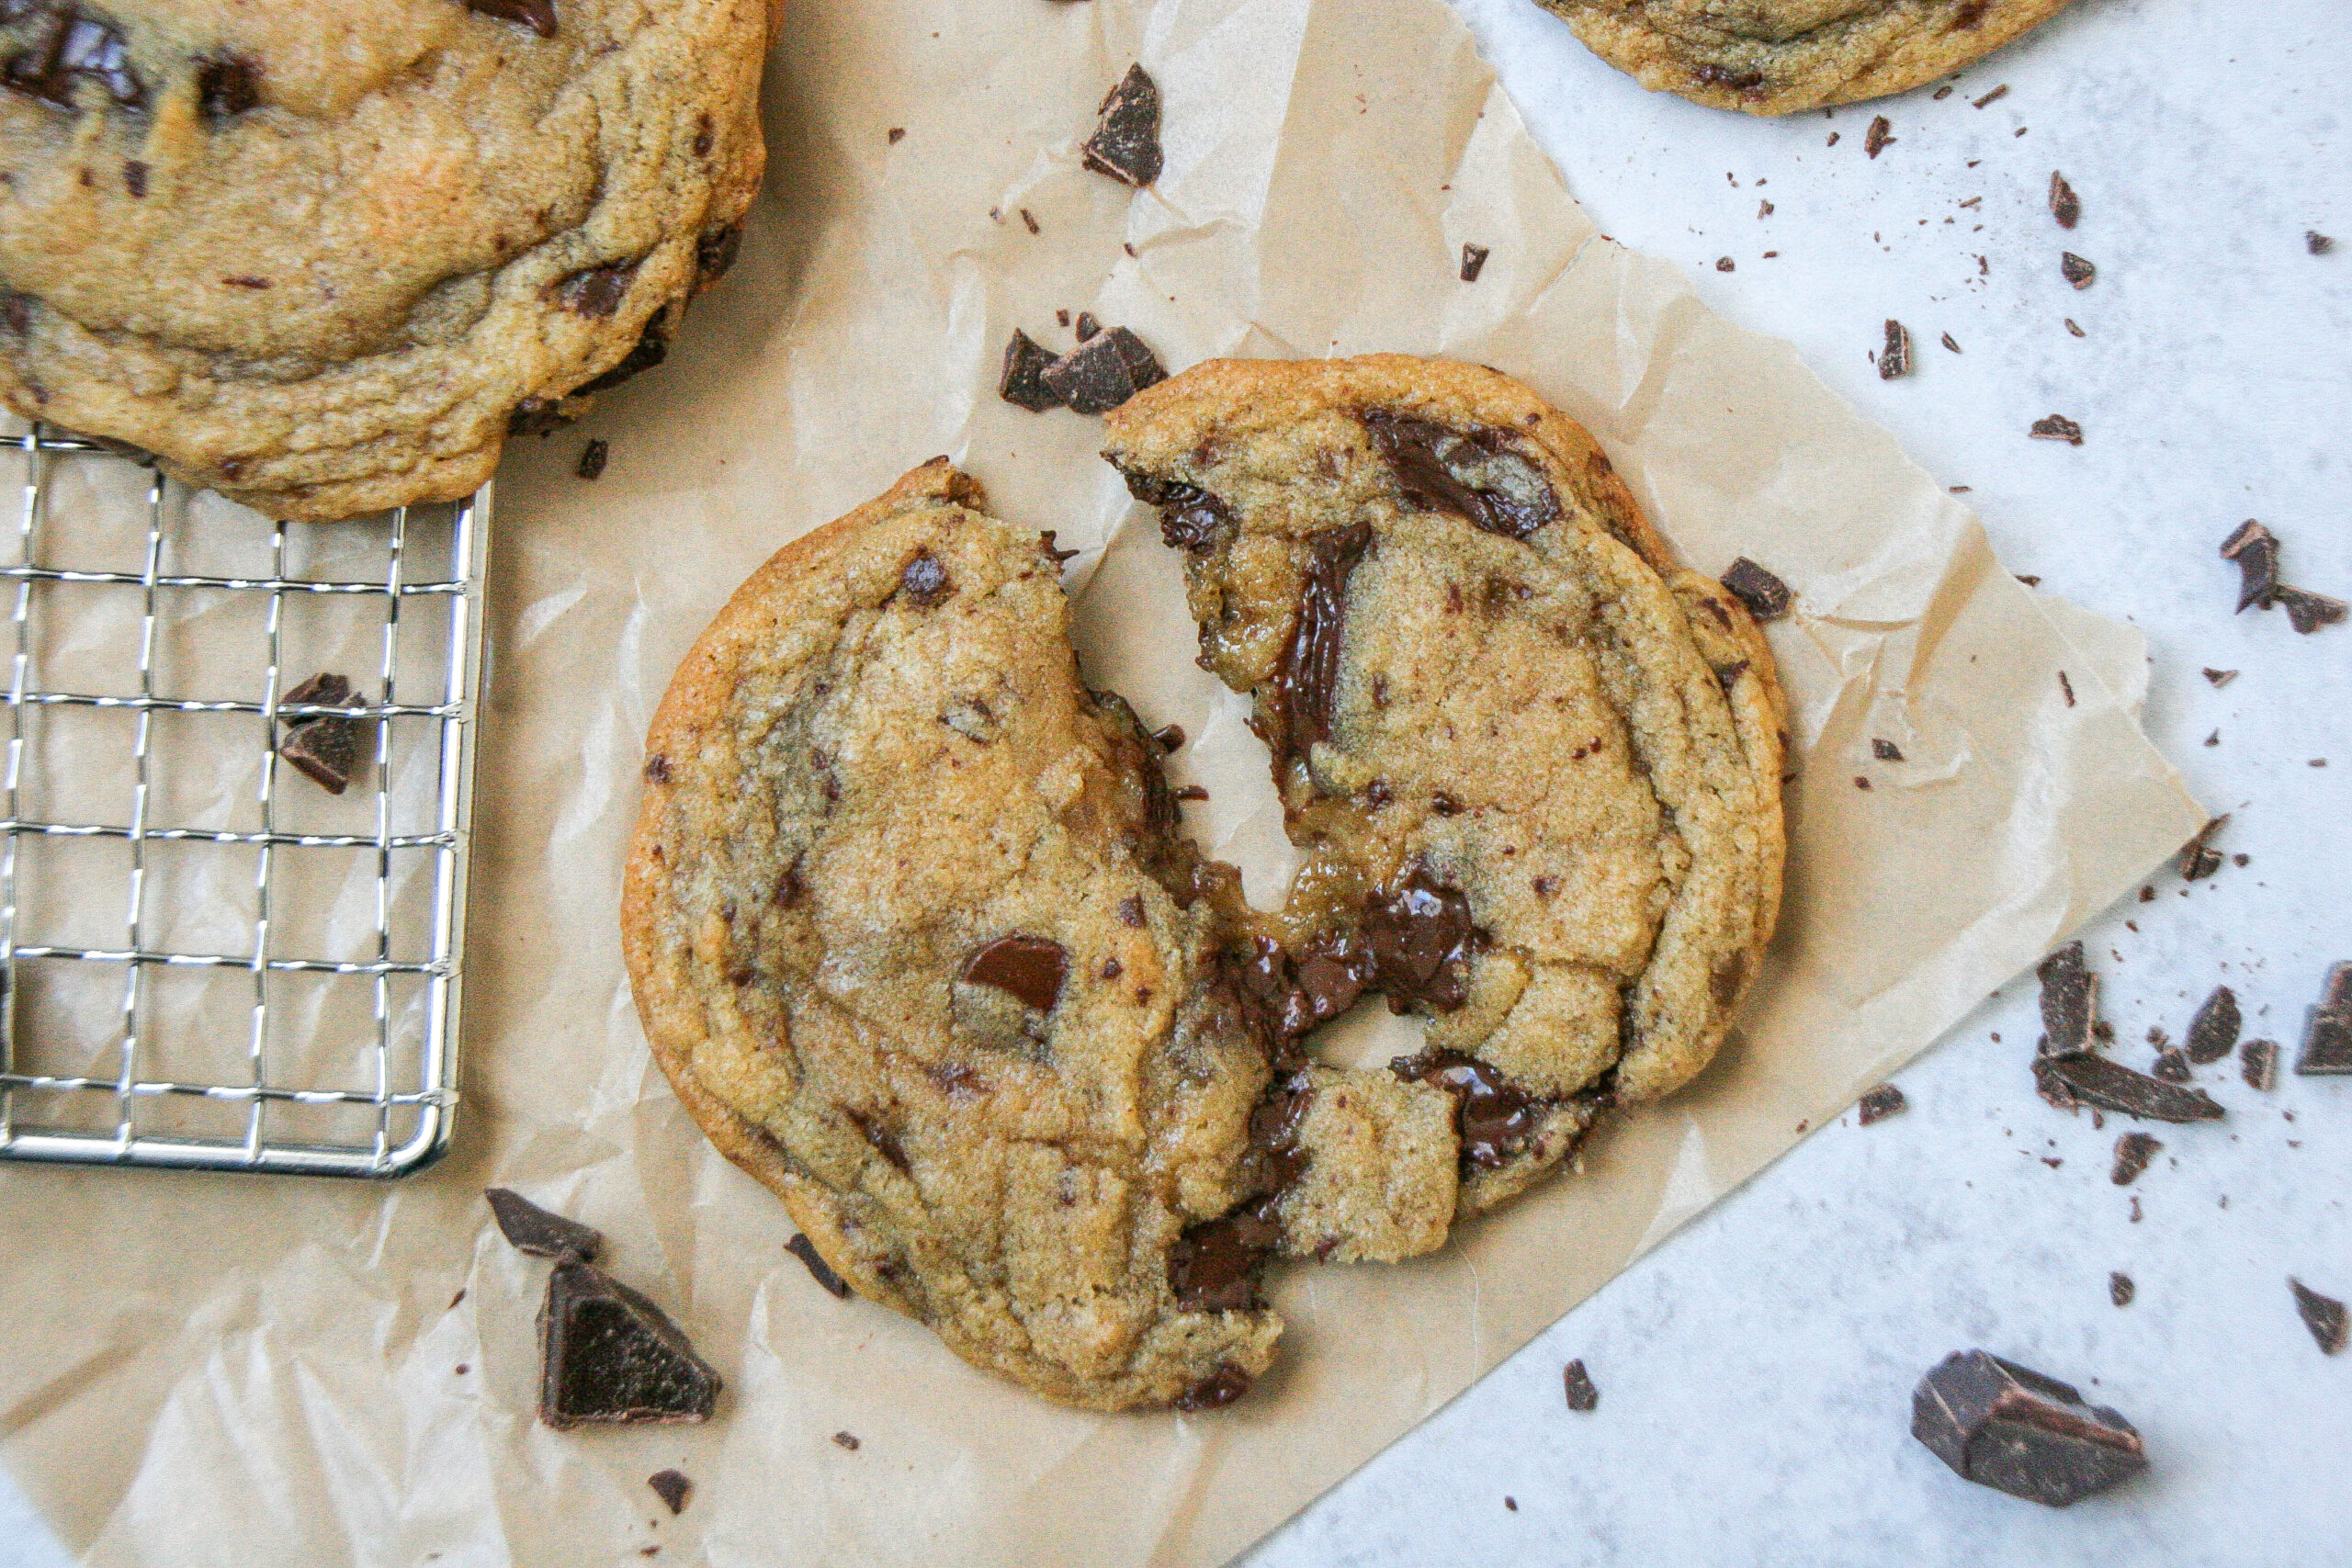
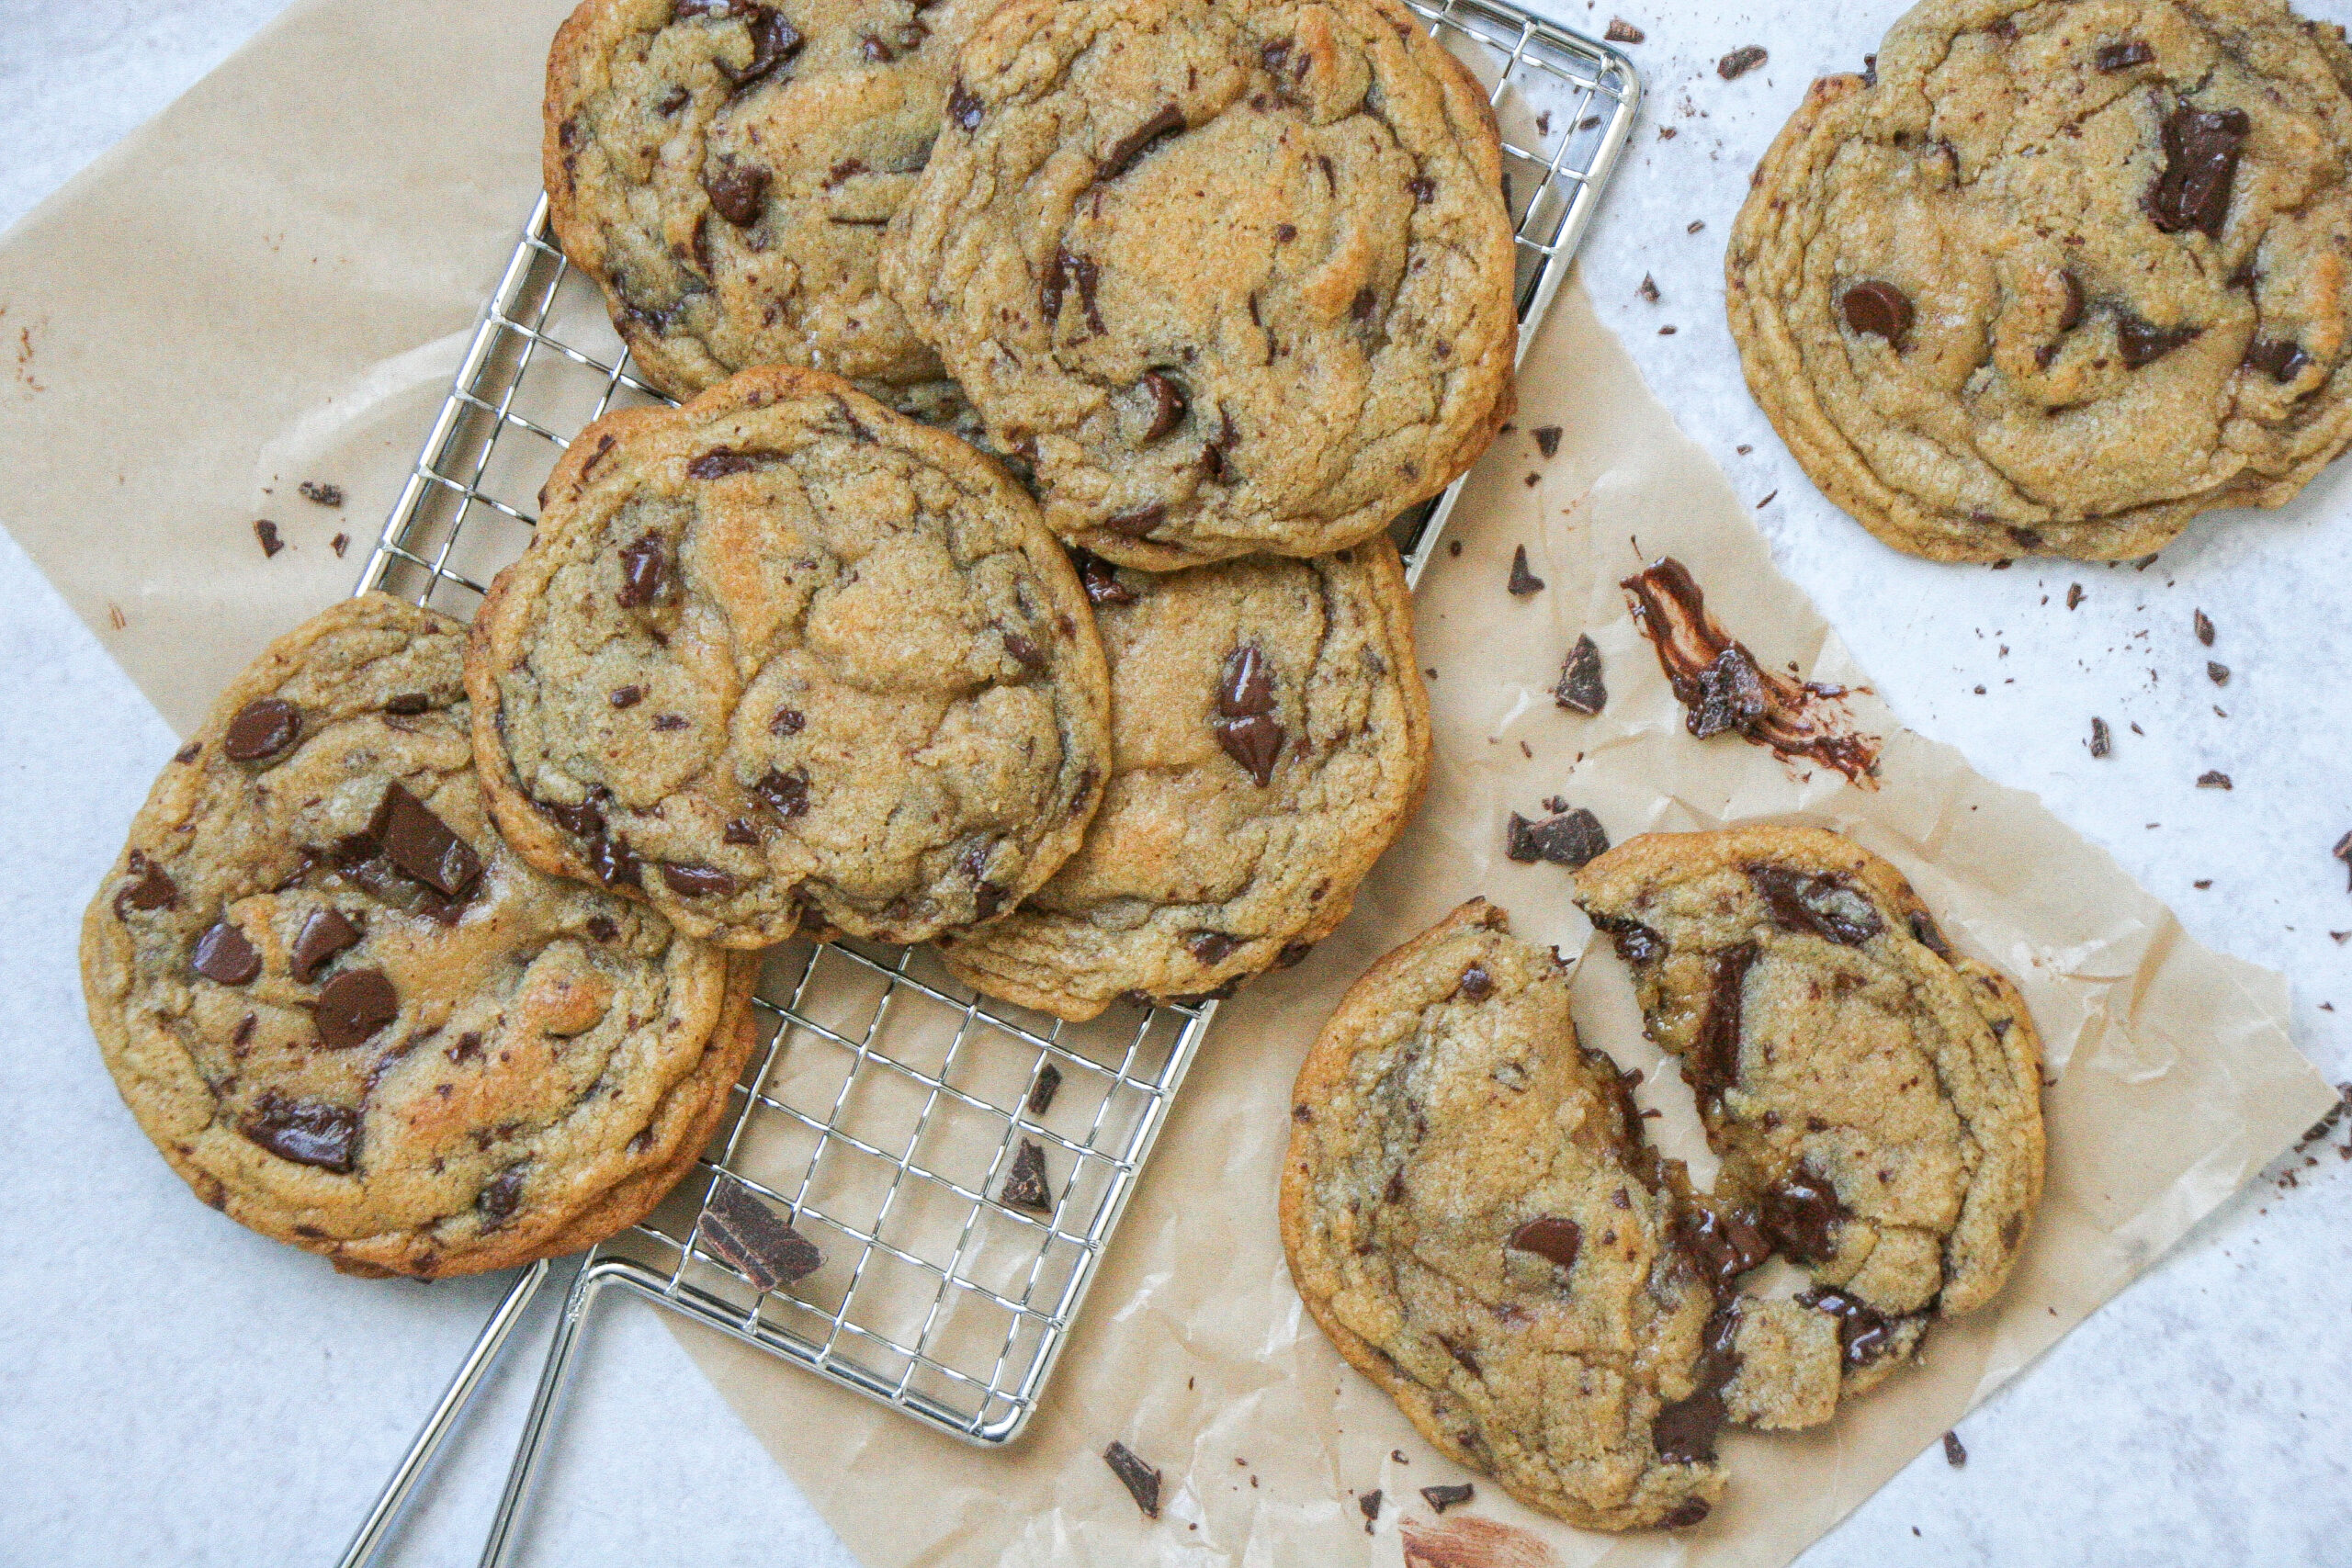
BROWN BUTTER CHOCOLATE CHIP COOKIES


BROWN BUTTER CHOCOLATE CHIP COOKIES
4
servings20
minutes9 - 11
MinutesIngredients
1 cup unsalted butter (2 sticks)
1 cup brown sugar
⅔ cup granulated sugar
- 4 Ingredient
2 eggs + 1 egg yolk
1 teaspoon vanilla extract
1 teaspoon vanilla bean paste
2¼ cup flour
1 teaspoon baking soda
Pinch of salt
1 cup chocolate chips
1 cup chopped chocolate bar (chunks)
Directions
Brown the butter in a saucepan - directions are listed above. Let it start to simmer and form small brown specks at the bottom of the pan. Stirring constantly so the butter doesn't burn. Let the butter cool (including the small bits at the bottom) in the fridge for about 20-30 mins
Preheat the oven to 375 Degrees F
Add the butter, brown sugar and granulated sugar and mix on medium high for about 4-5 mins until lighter in color
Add in the eggs and egg yolk one at a time stirring after each addition. Add in the vanilla paste and extract. Mix until combined
Add in the dry ingredients - flour, baking soda, and salt and stir until just combined. Do not overmix
Chop up chocolate into large and small pieces and add to dough with chocolate chips. Take off mixer and fold in gently.
Let the dough rest and chill in the fridge for about 45 mins to 1 hour or overnight
Bake for 9-11 mins

