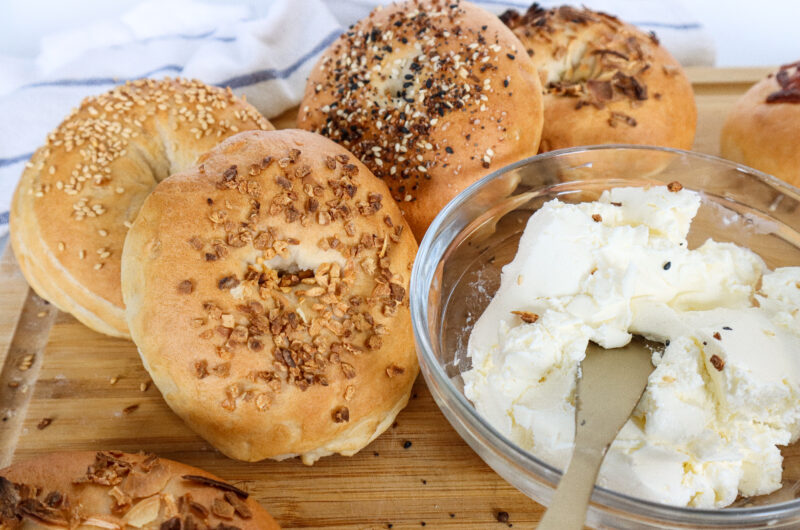
NEW YORK STYLE BAGELS

NEW YORK STYLE BAGELS
4
servings30
minutes40
minutes300
kcalIngredients
500 grams bread flour
2 ¼ teaspoons active dry years (1 packet)
1 Tablespoon sugar
2 teaspoons salt
1 ¼ cup water (100 - 110 degrees F)
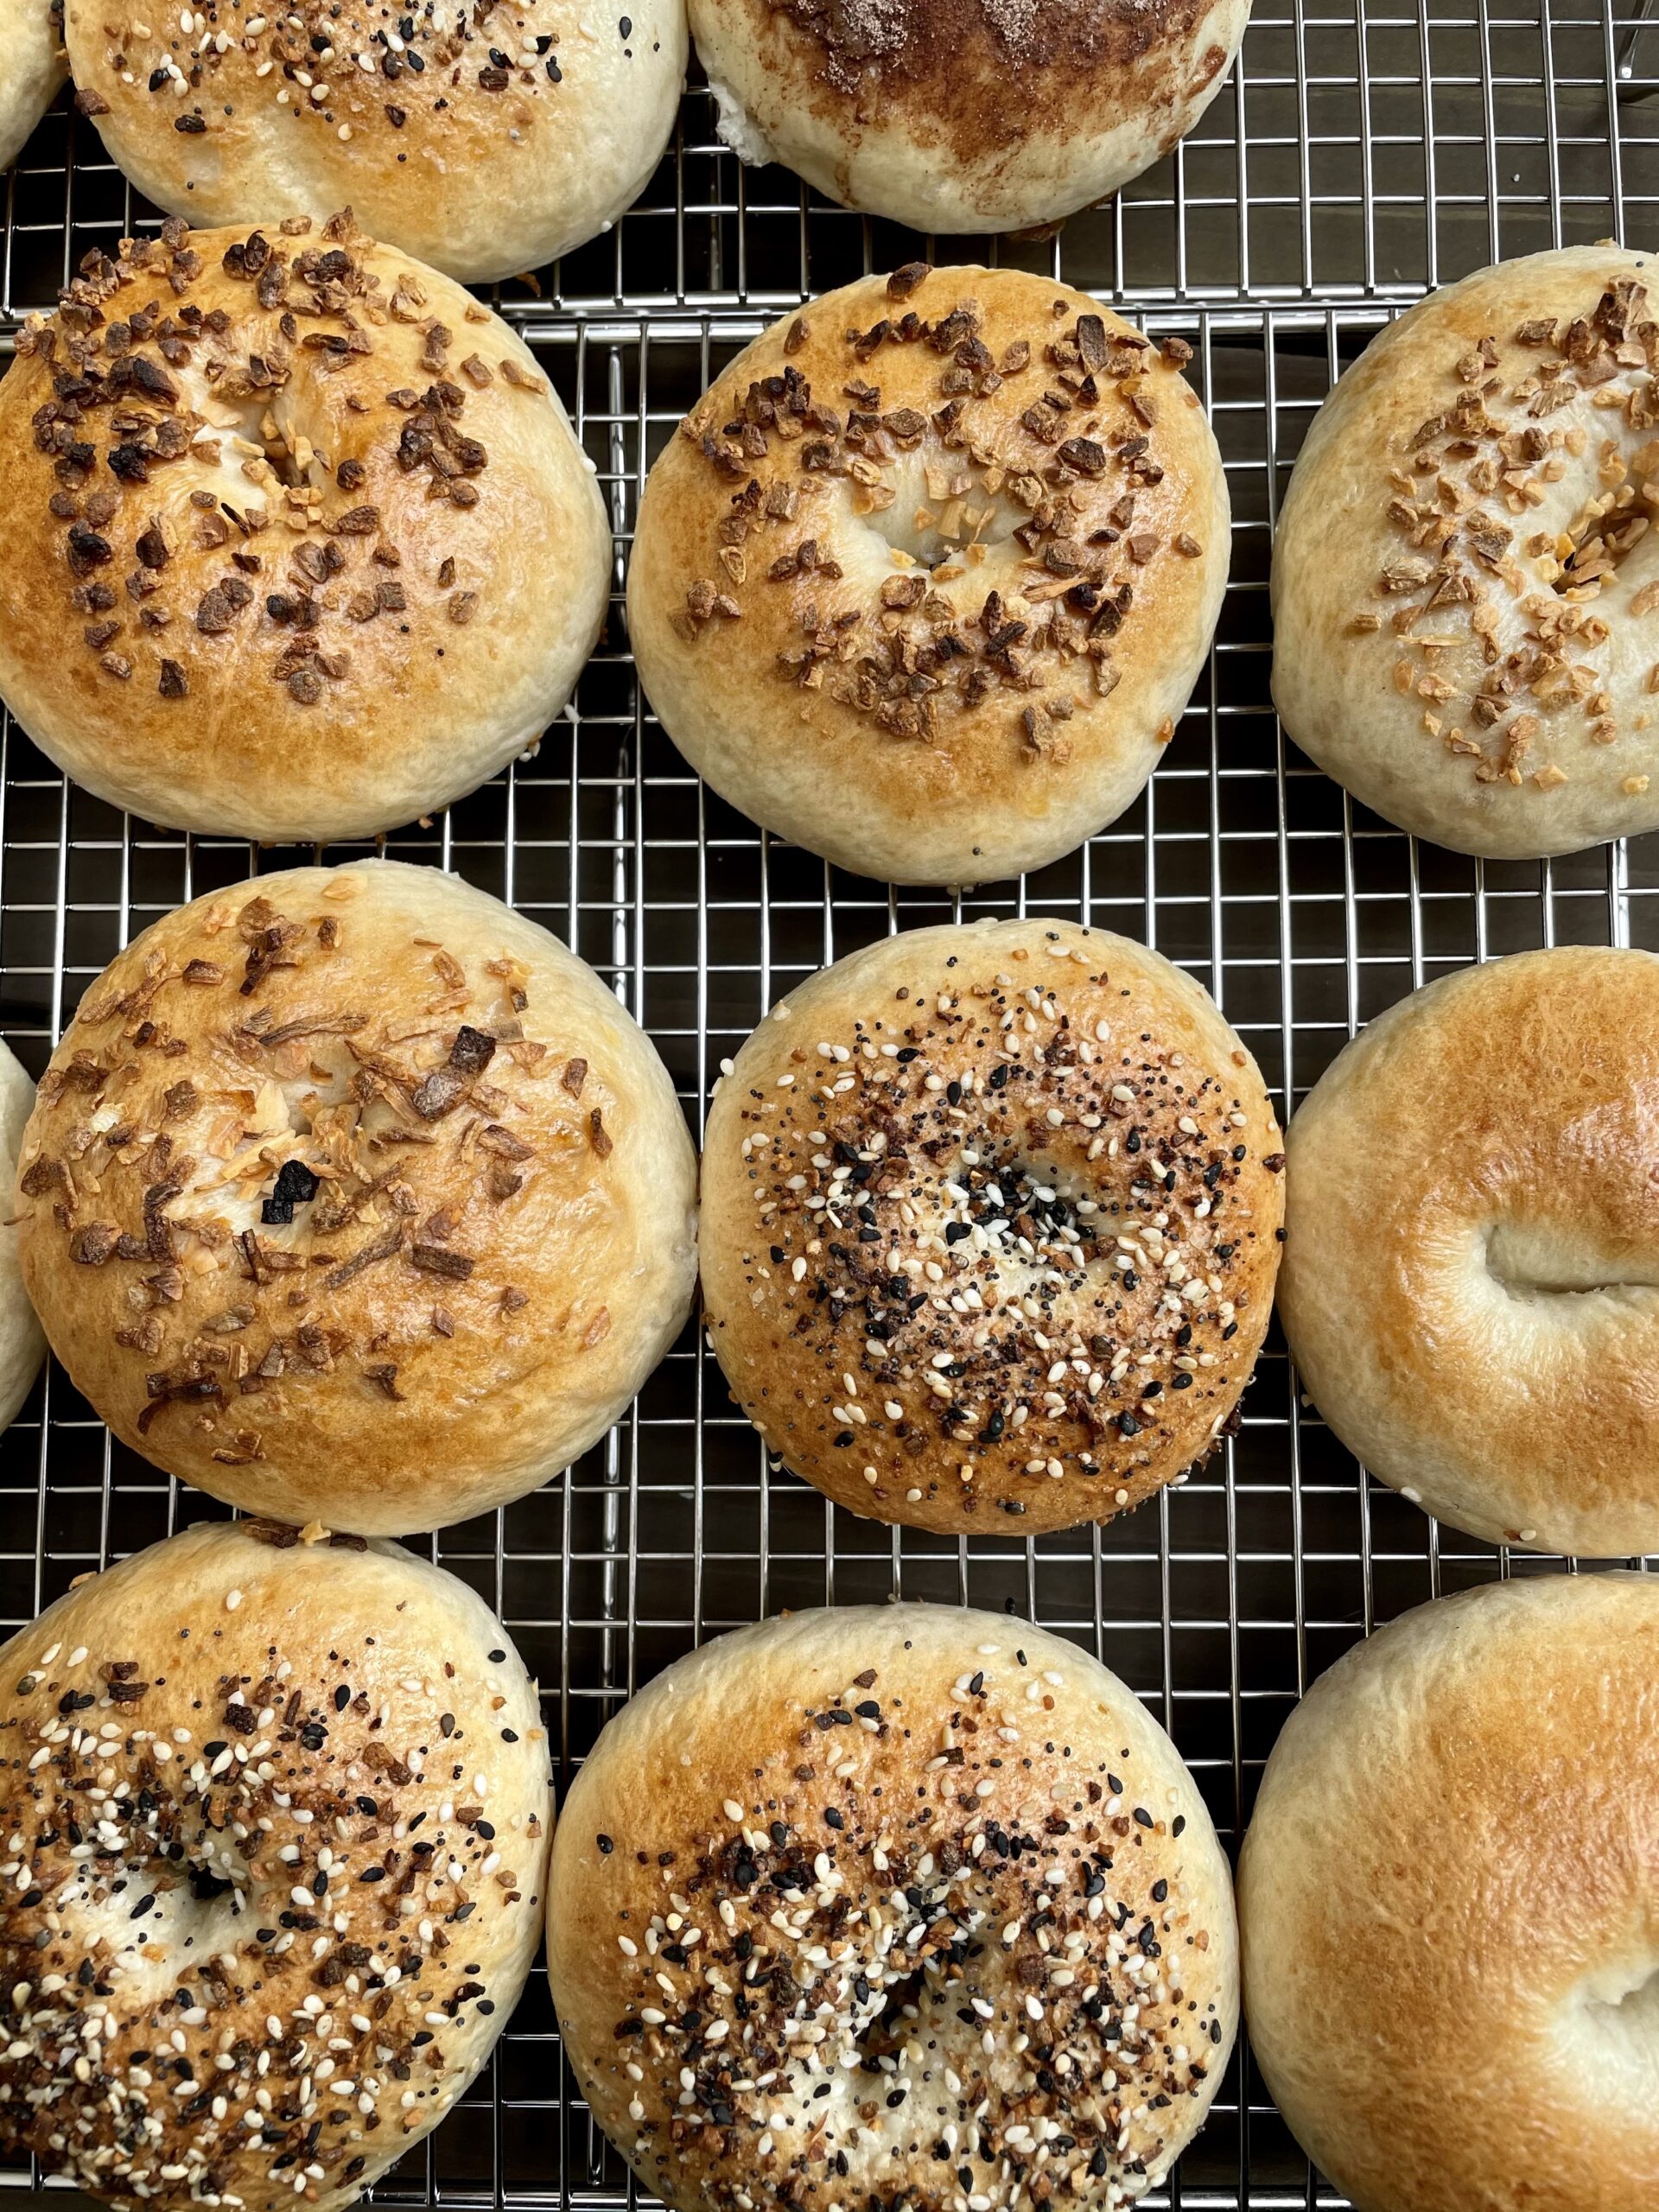
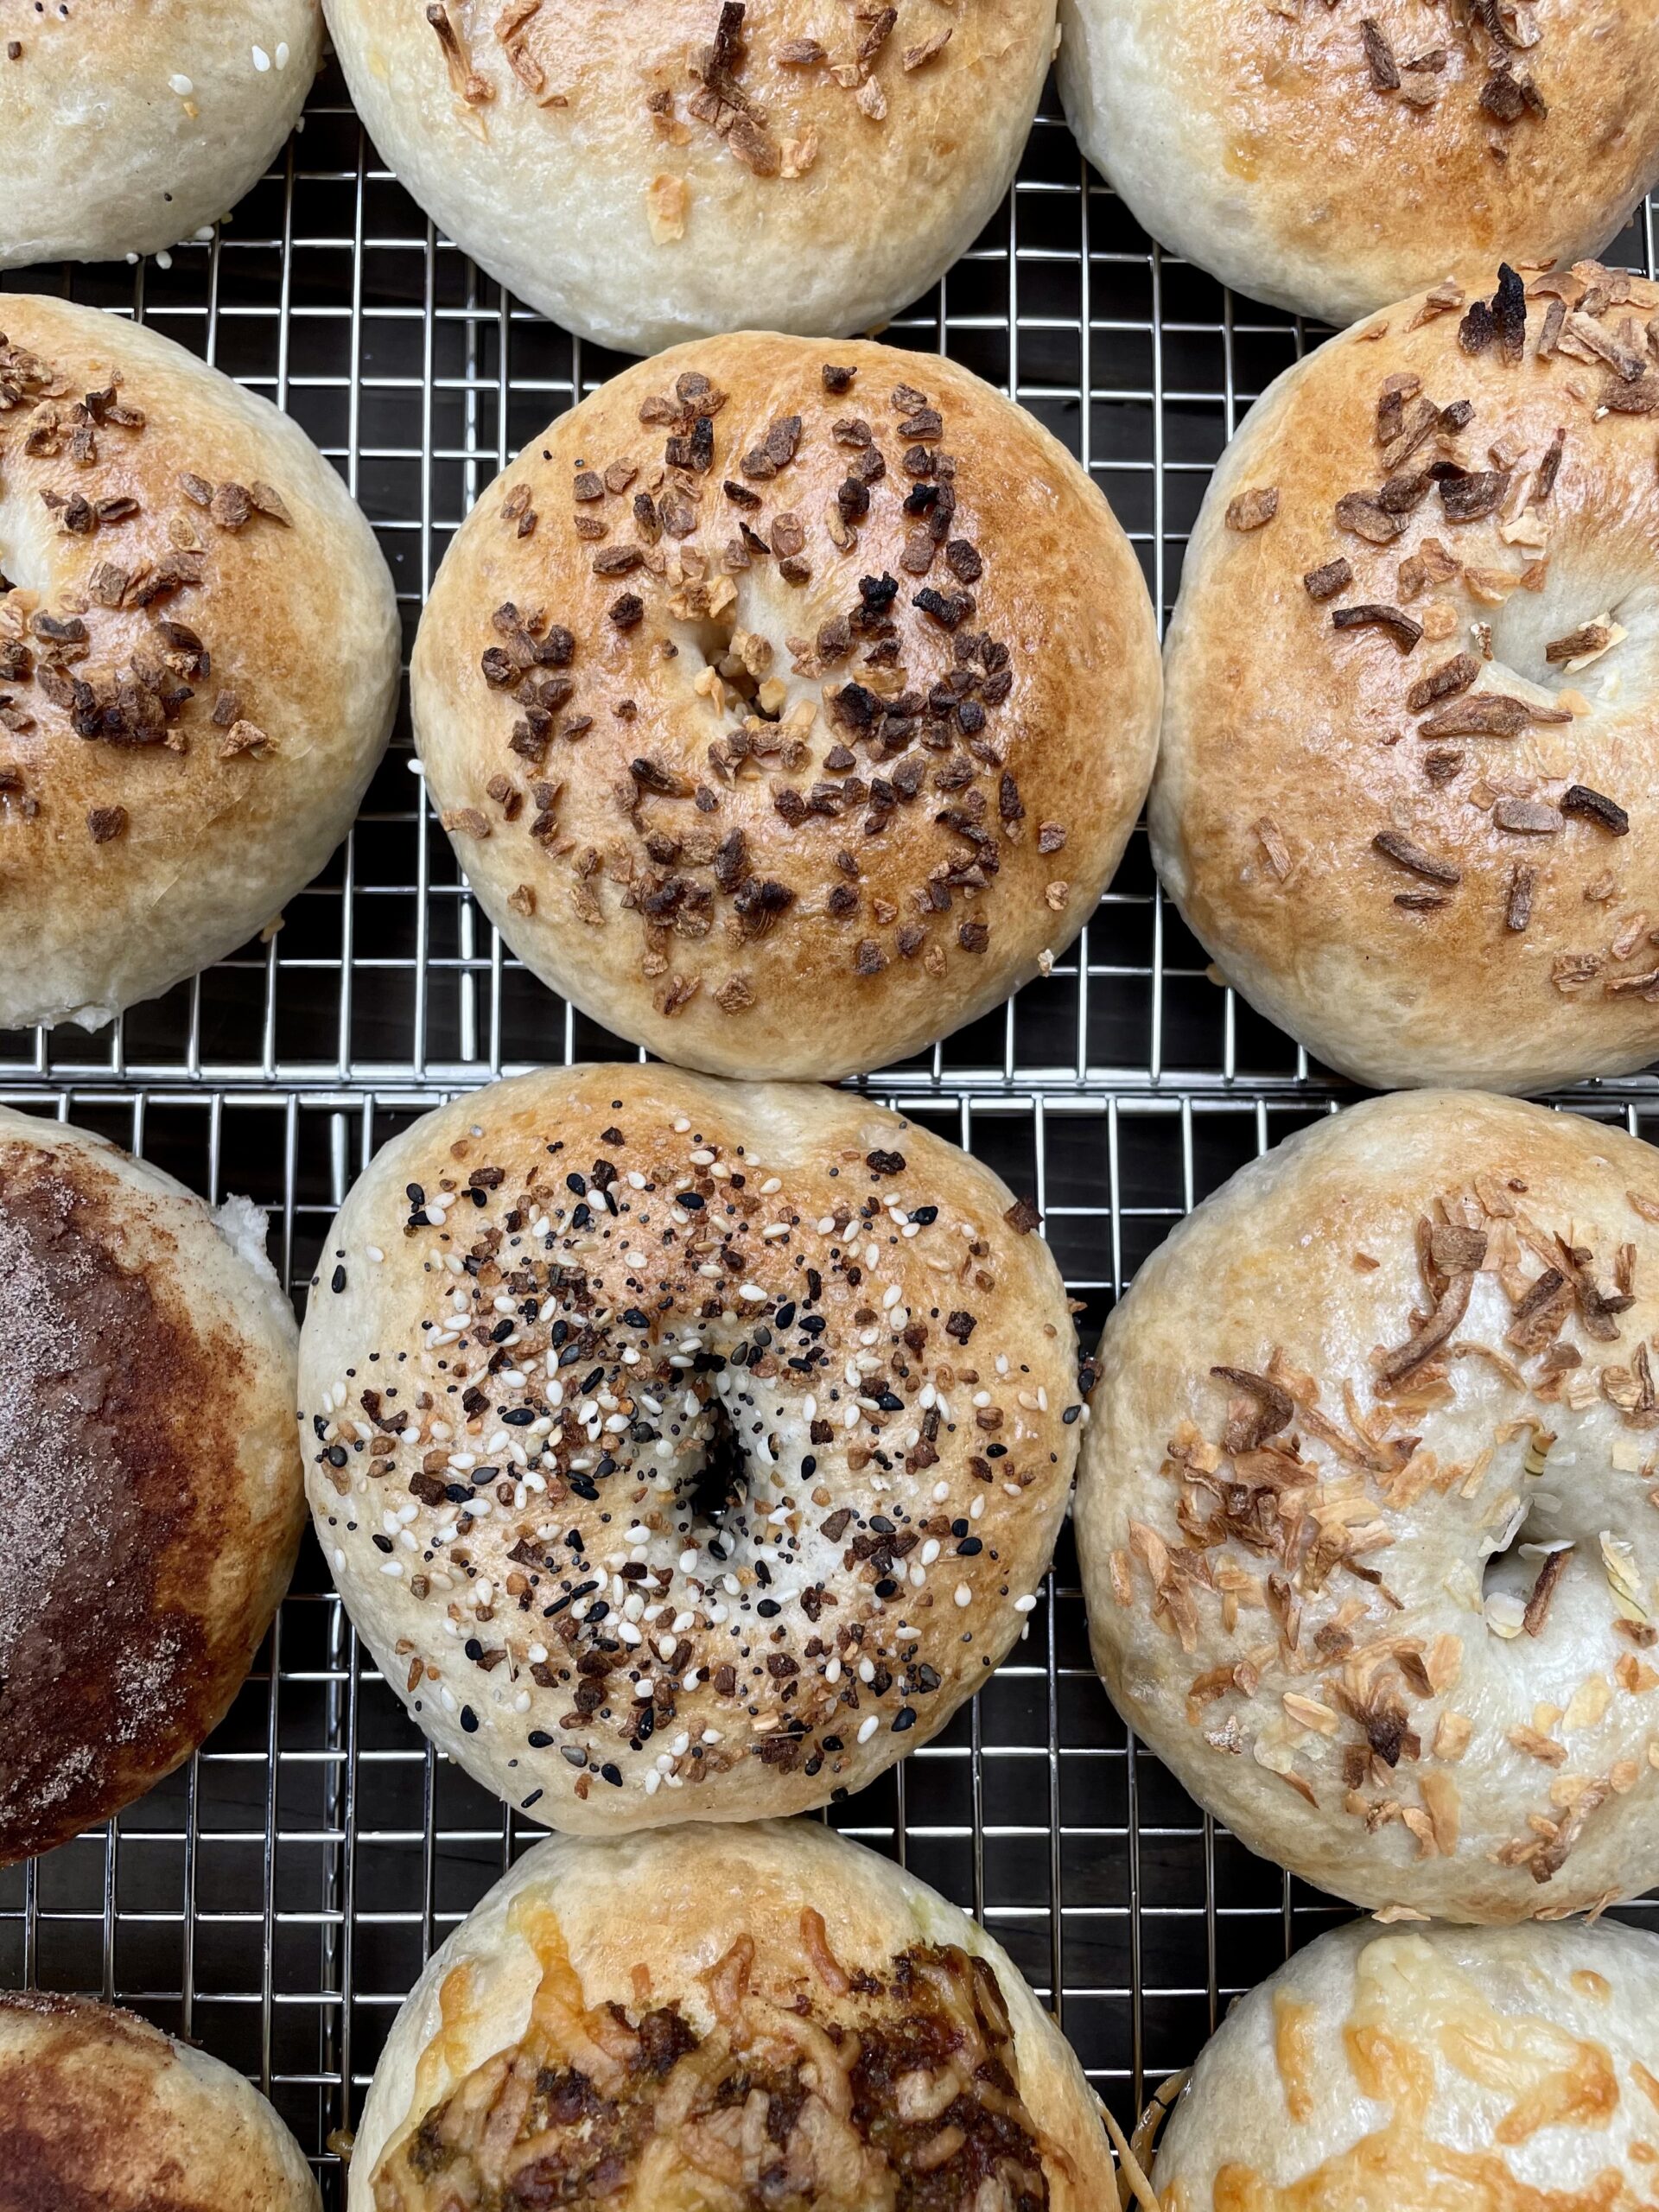
Bagel Toppings of choice - Asiago cheese, garlic, everything, onion, pesto, sesame seeds, poppy seeds etc.
1 Tablespoon baking soda (for boiling water when boiling bagels first before baking)
Directions
If using active dry yeast, you will need to let the yeast bloom in the warm water for about 10 mins. Boil your water until it reaches between 100 - 110 degrees F. Add in the sugar and the yeast and let rest for 10 mins in a warm area.
To a separate bowl, add the bread flour and salt. Once the the yeast is done blooming add the flour and yeast mixture to the bowl of a stand mixture and mix on medium speed for about 10 mins until the dough is smooth and completely combined. It will not be sticky.
Put the dough in a bowl, cover it and let rise for about 45 mins - 1 hour.
Once it has double in size, lightly flour a work surface and turn out the dough. To help preserve the dough, cup it into 6 - 10 dough balls (depending on how big you want your bagels to be.
Carefully roll each dough into a ball pinching all the edges to the center to help form it perfectly and then rolling with the palm of your hand against the work surface in circular motions. This will help seal the edges you just pinched together.
Take the dough balls one at a time; in the center of the dough pinch your index finger and thumb together until they form a whole and your fingers are touching.
Flour both of your index fingers well, insert your fingers from both sides of the dough and spin them like a wheel is turning until the center of the dough ball has become large. Remember: These are going to go for a second rise so make sure to make the hole in the center somewhat large.
Add to a baking sheet lined with parchment paper, place each bagel, giving about 2 inches inbetween each one. Let rise for another 30 mins or so until the dough has risen and your bagels have almost doubled.
Towards the end of their second rise, preheat the oven to 375 Degrees F and add water to a deep saucepan and bring the water to a simmer. Once simmering, add the baking soda.
Place 3-4 bagels at a time (or however many can fit comfortably with room to move around, do not overboard them). Let them boil for about 2 mins on each side.
Using an all purpose strainer carefully take them out and place them spread out on the lined baking sheet. You can either do an egg wash or just sprinkle the toppings on right away once out of the water.
Bake for about 25-30 mins or until golden brown.


