RED VELVET BROWNIES (SMALL BATCH)
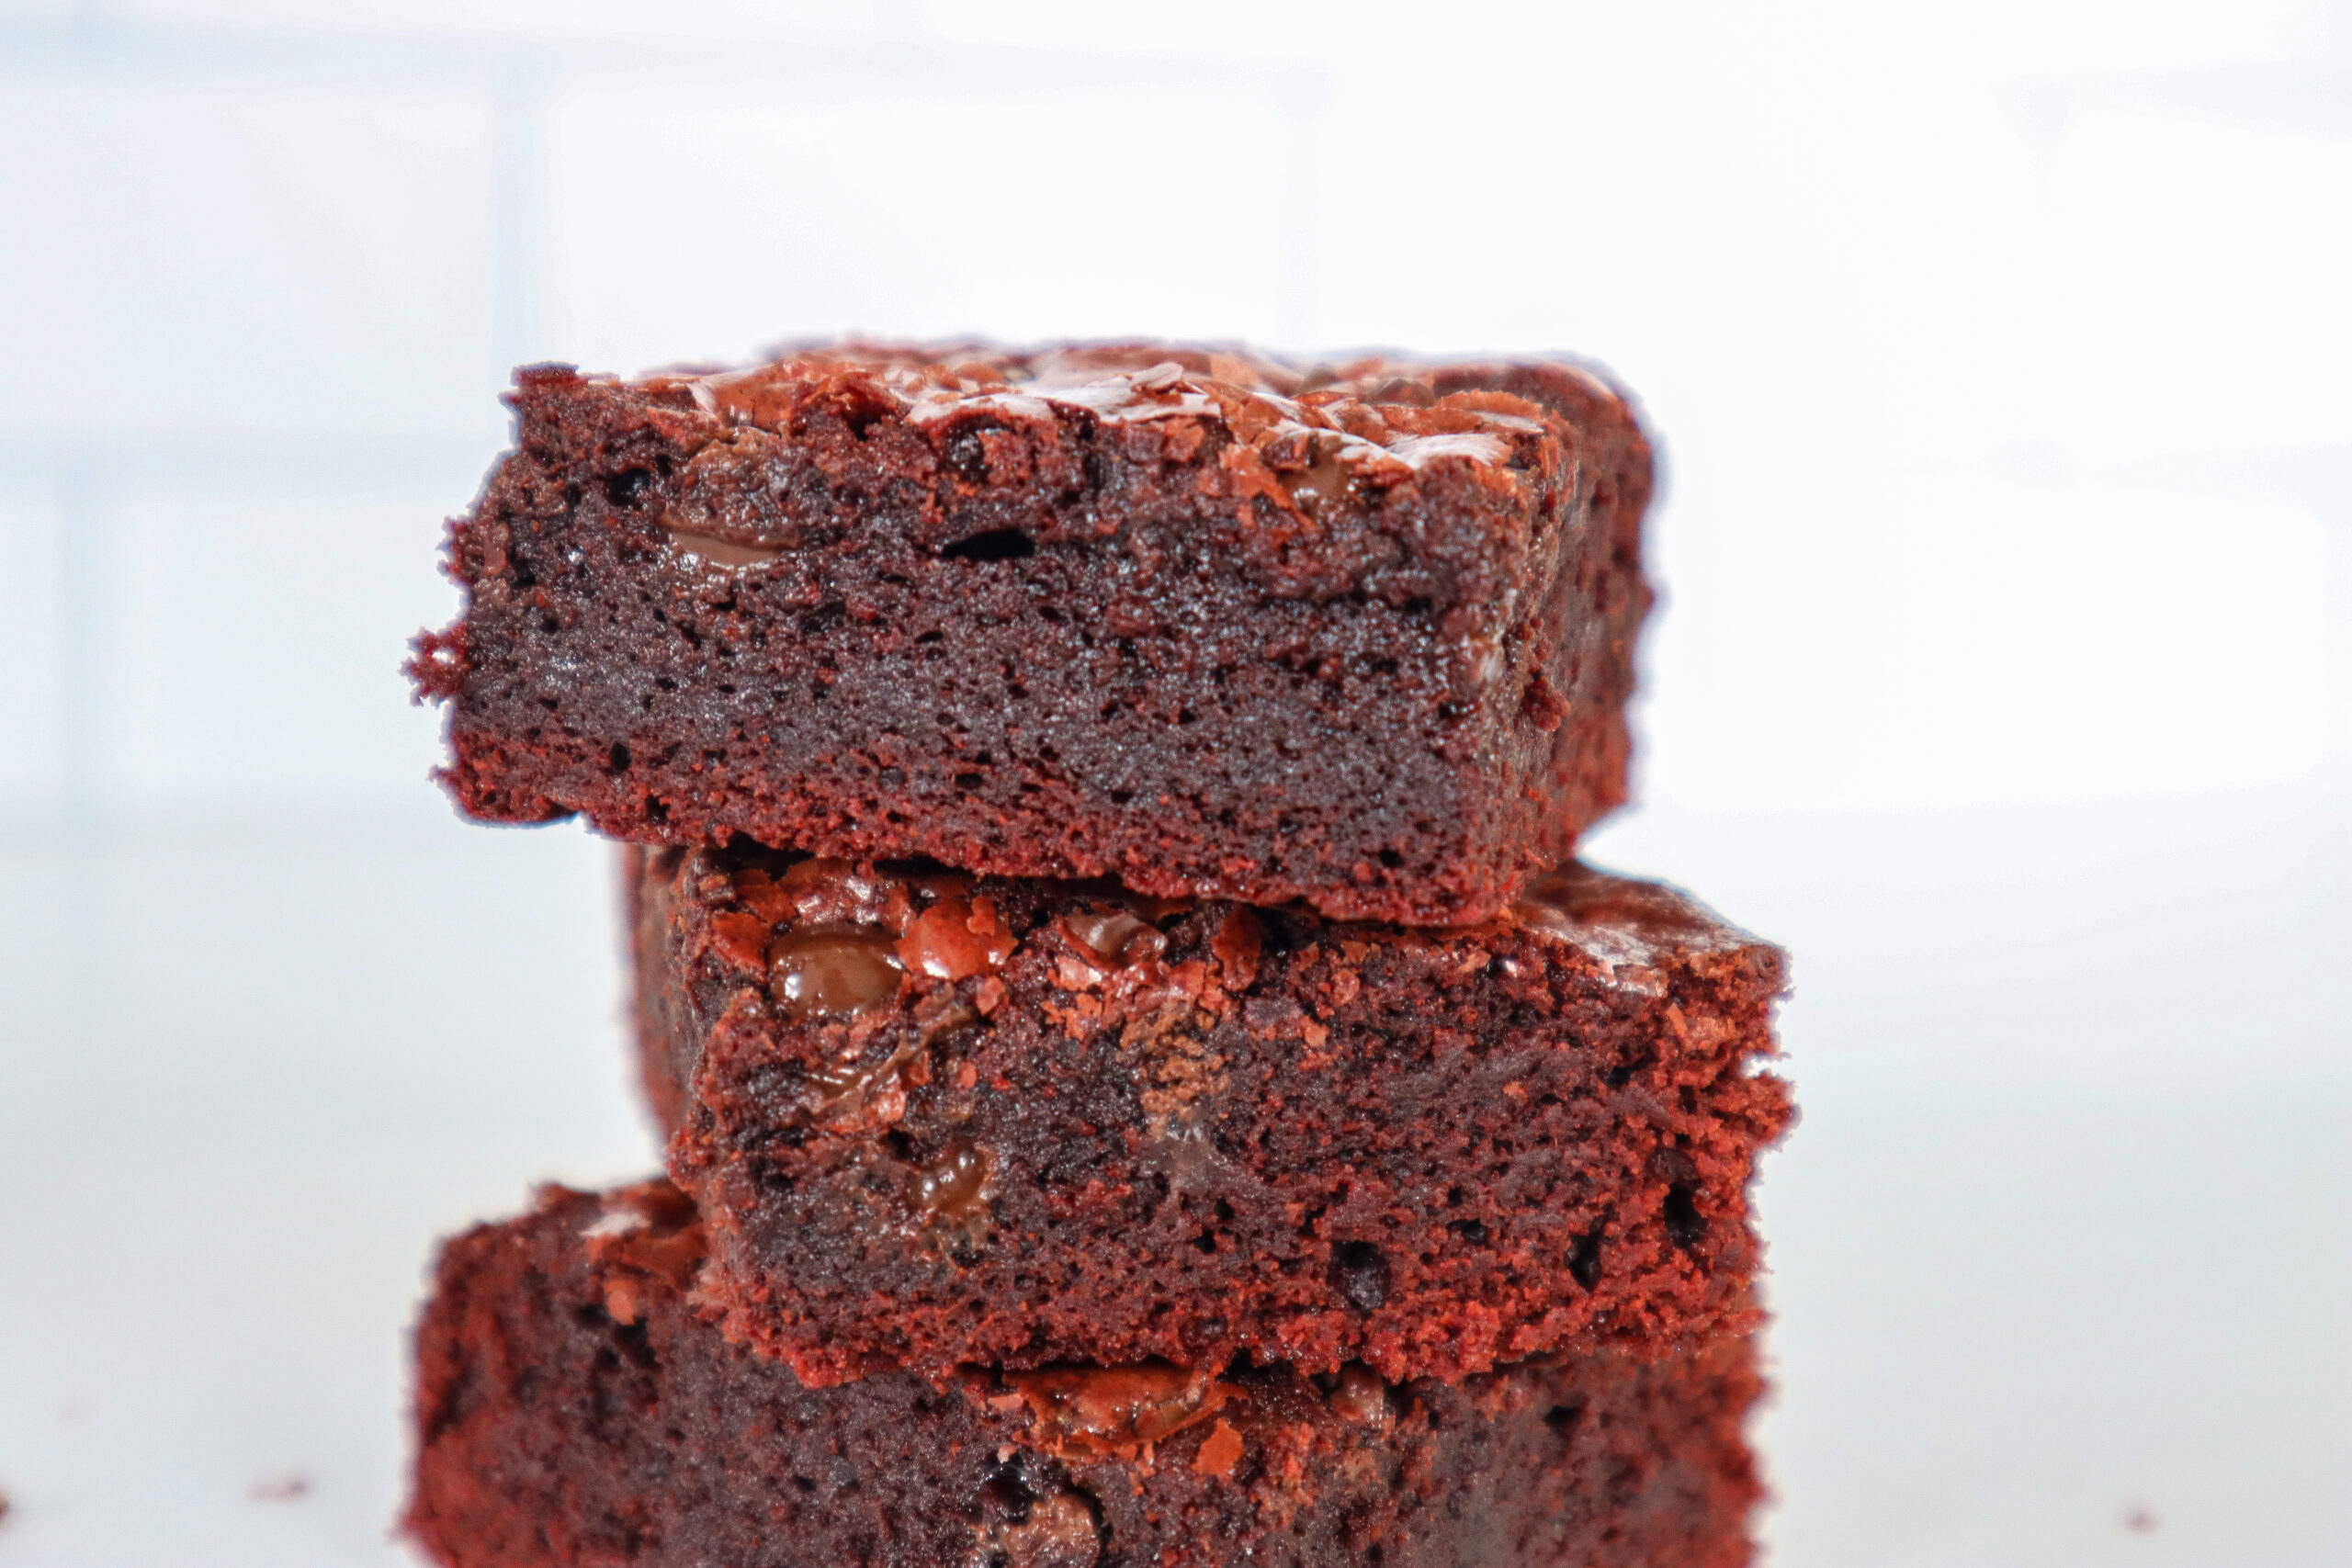
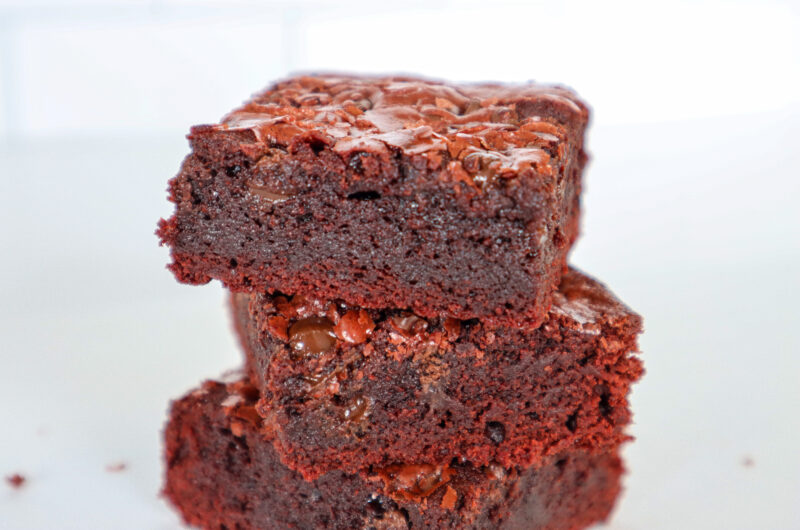
RED VELVET BROWNIES (SMALL BATCH)
8
servings15
minutesIngredients
¼ cup unsalted butter; melted (4 tablespoons)
2 tablespoons vegetable/canola oil
2-4 teaspoons red food coloring
¾ cup granulated sugar
2 eggs
1 teaspoon vanilla extract
½ teaspoons corn starch
½ cup all purpose flour + 1 Tablespoon
1 tablespoon cocoa powder
½ cup chopped chocolate (64 grams)
pinch of salt
Directions
Preheat oven to 325 degrees F. Prepare a baking dish with baking spray and line with parchment paper
Melt butter and chopped chocolate over medium heat in a double-boil bowl
In a separate bowl, beat eggs, sugar and oil with a whisk for about a minute; add in the vanilla and set aside
Slowly pour in the melted butter and chocolate mixture into the egg and sugar mixture.
Add in the dry ingredients - flour, corn starch, cocoa powder and salt. Stir until just combined.
Pour batter into the loaf pan and bake for 28-35 mins. Do not over bake. You want the toothpick to come out with a moist crumb but not a wet batter or completely dry (overcooked)
