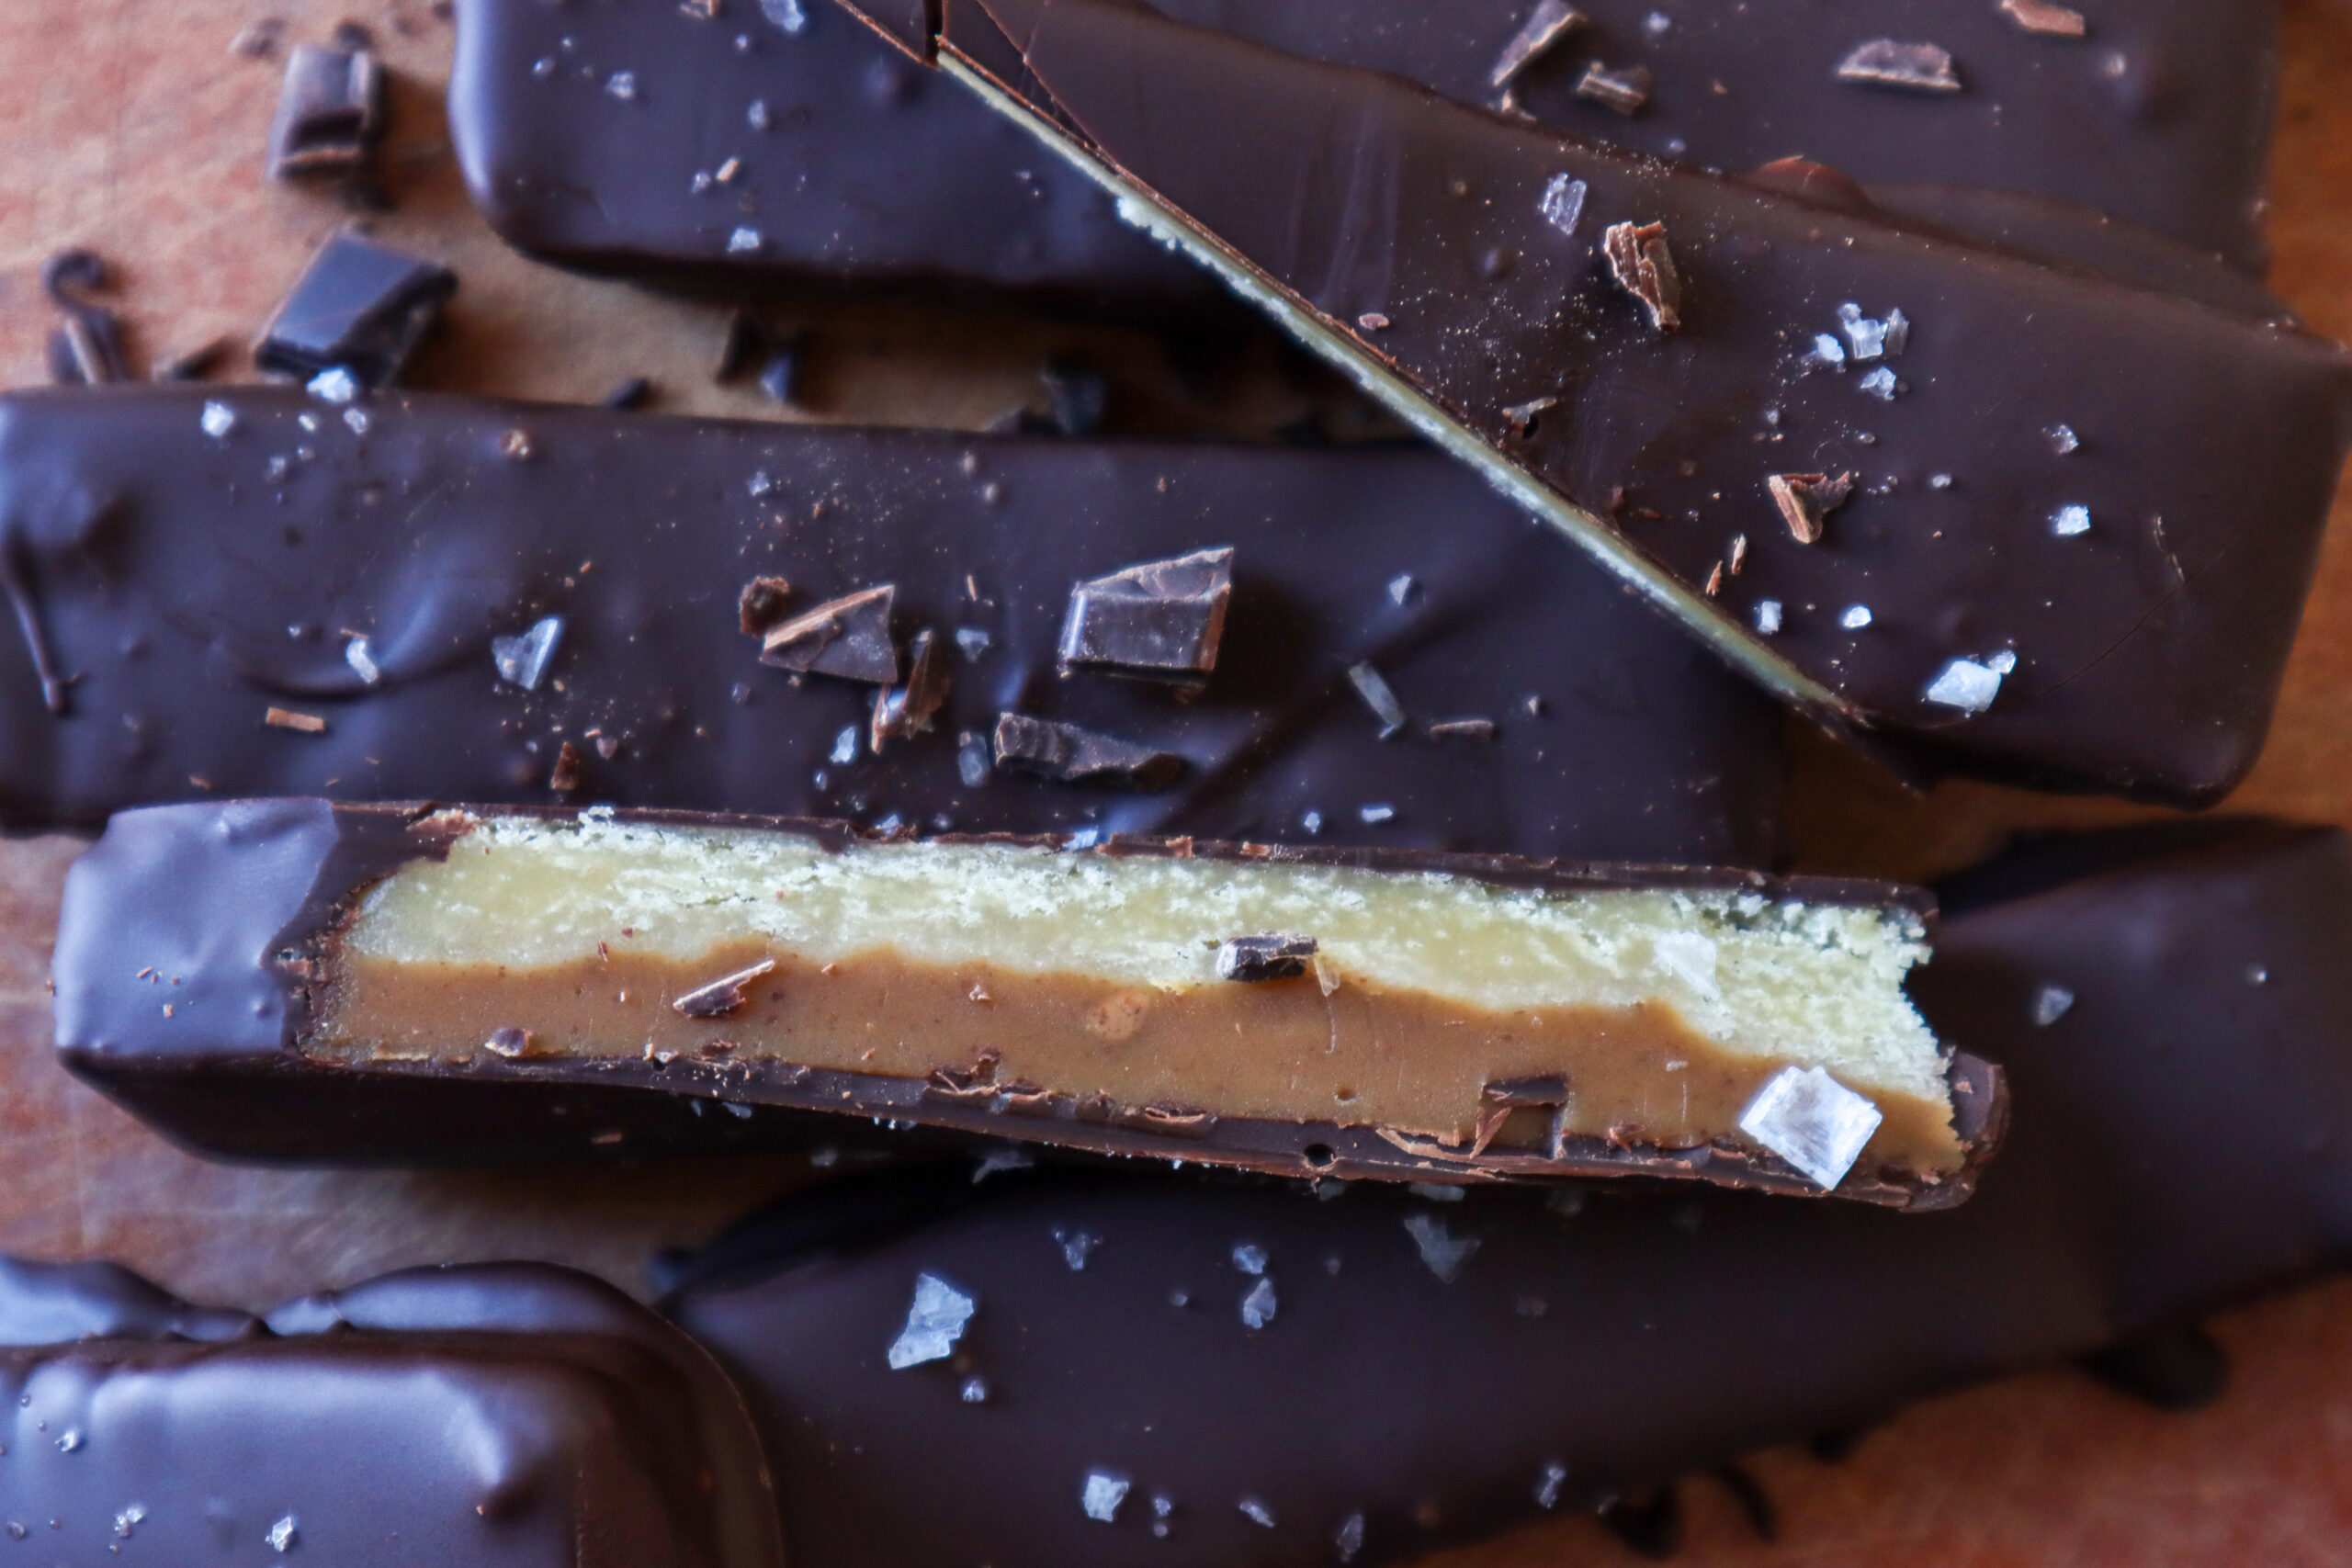
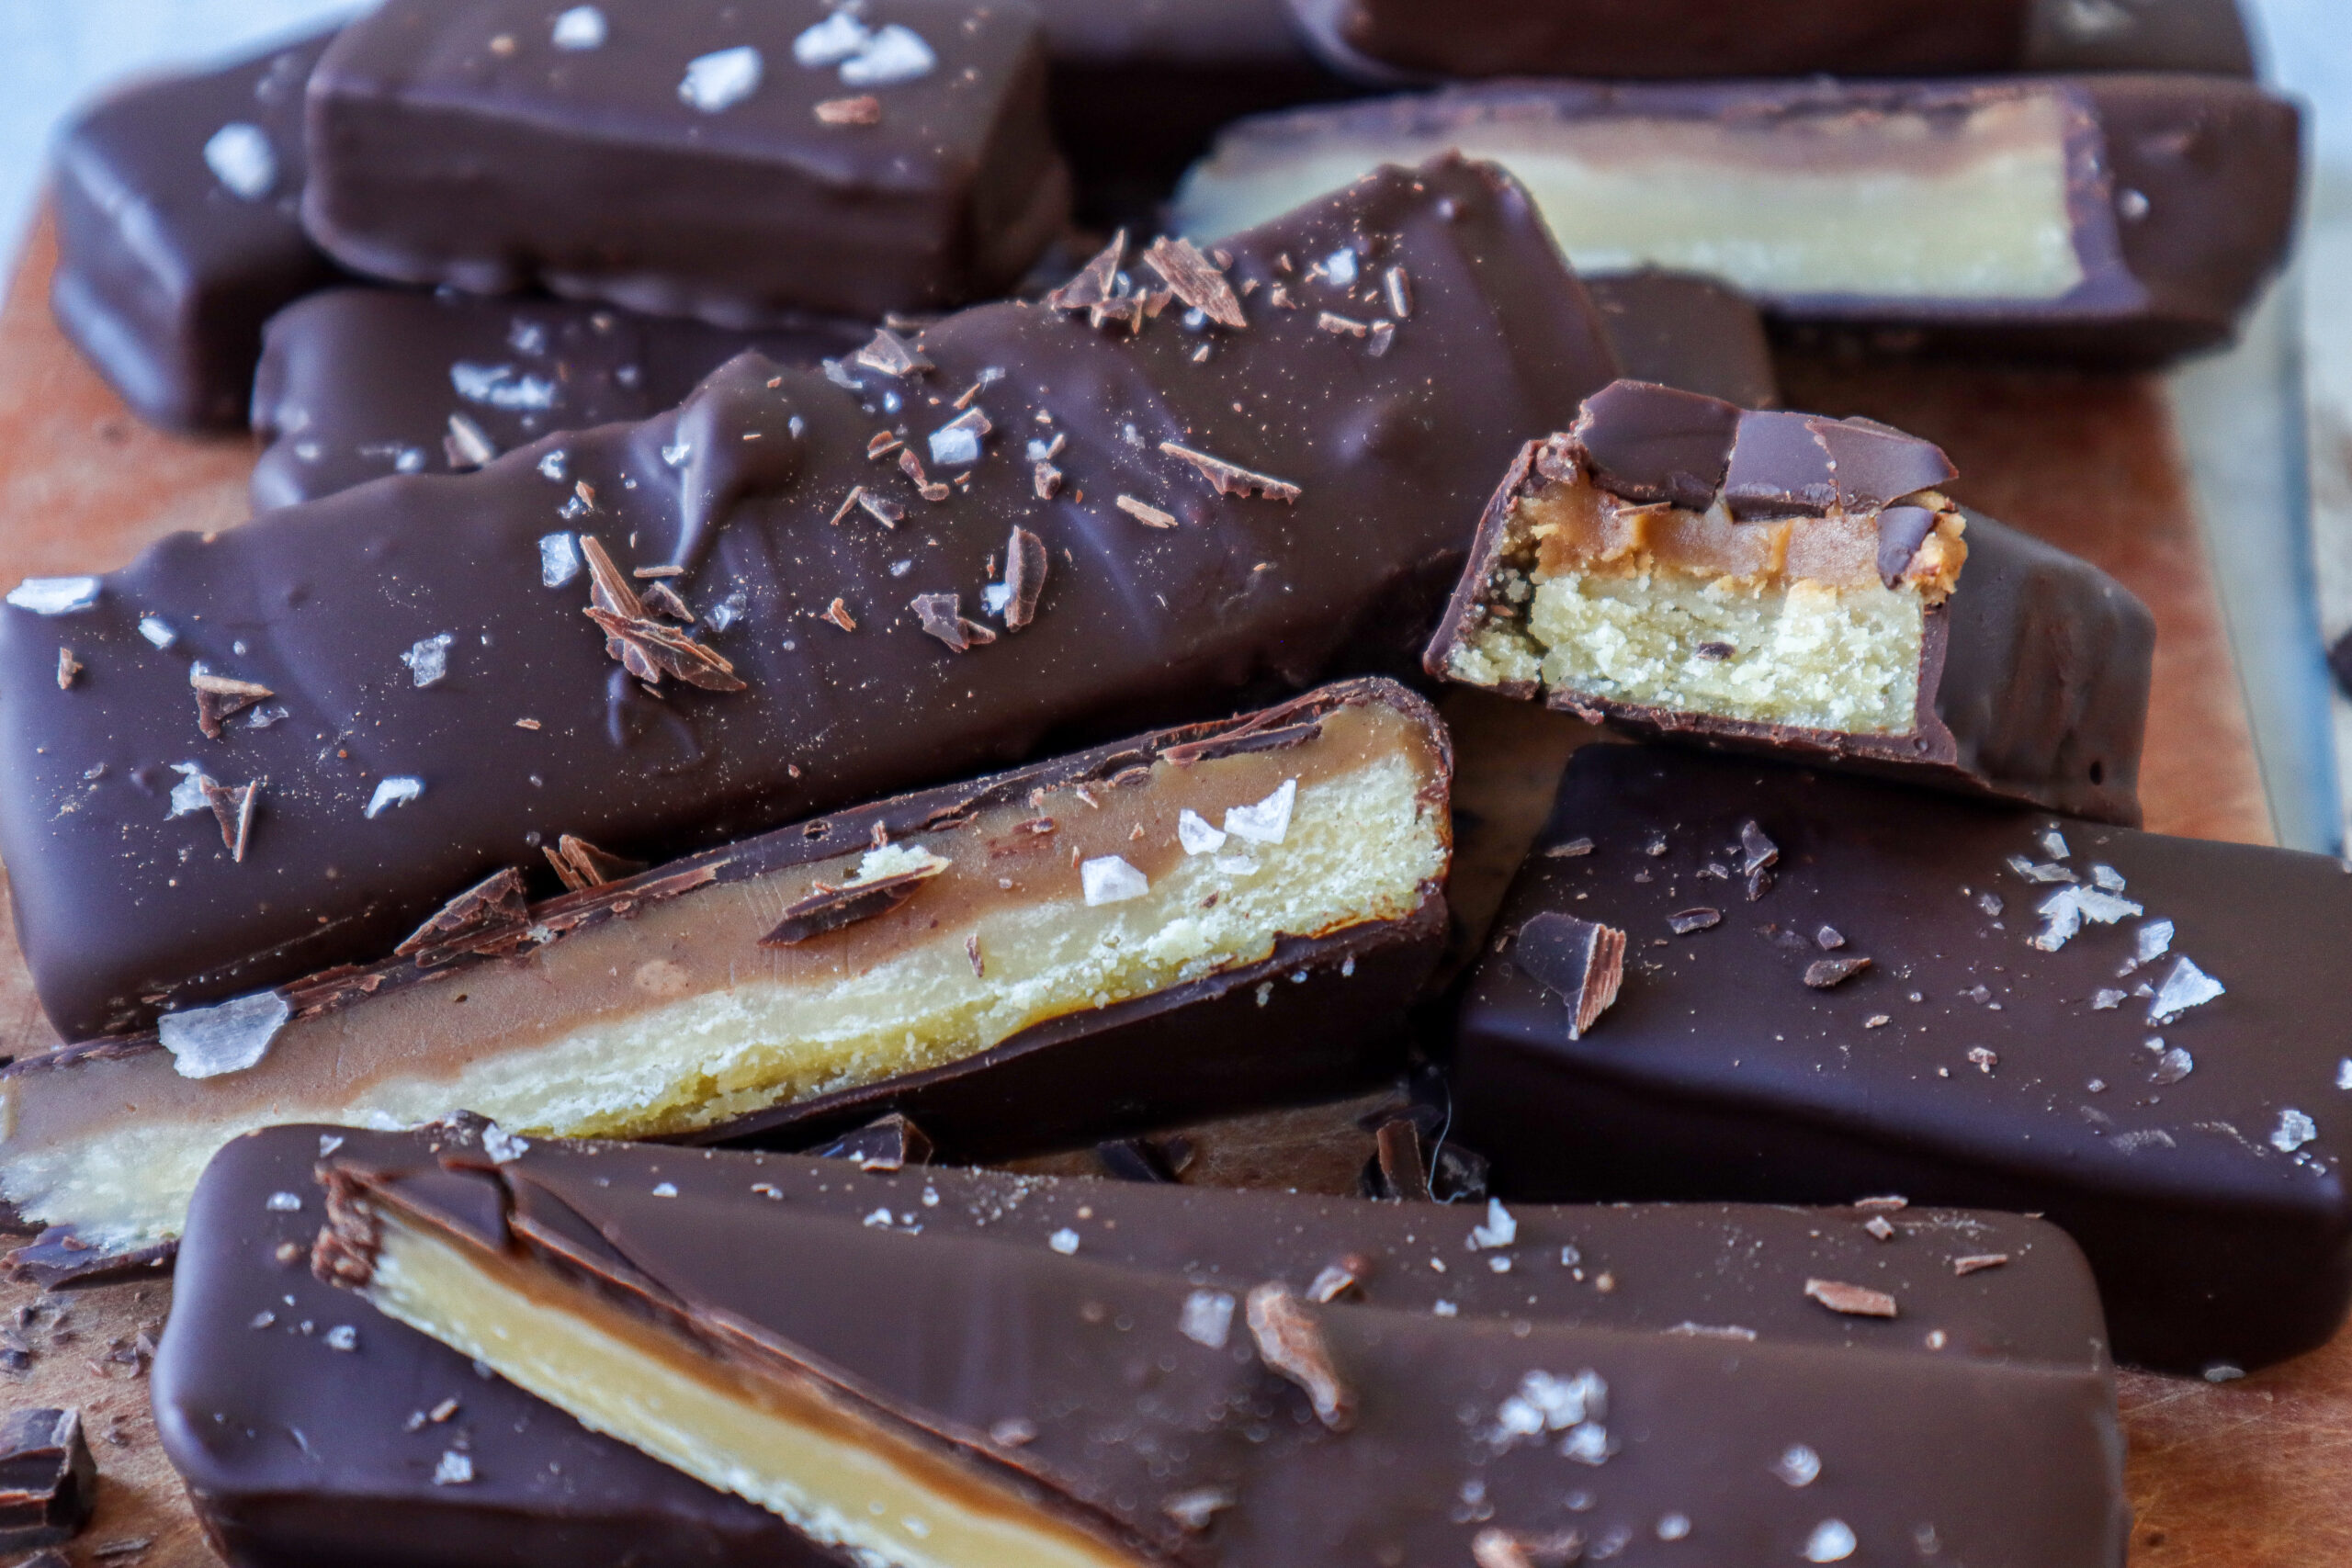
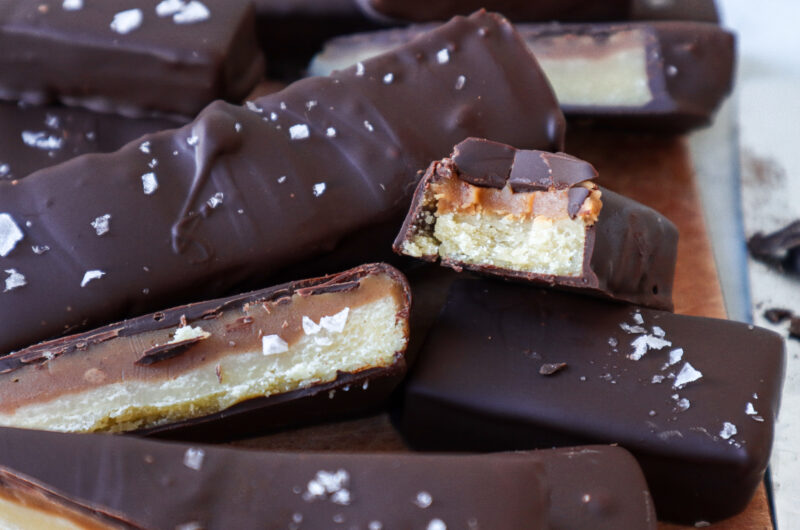
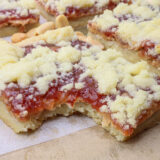
PEANUT BUTTER TWIX BARS

-
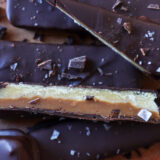
- twix peanut butter candy bar
-

- Peanut Butter Twix Bars
PEANUT BUTTER TWIX BARS
18+
servings40
minutes20
MinutesIngredients
- SHORTBREAD
2 cups all purpose flour
¾ cup sugar
1 cup unsalted butter (2 sticks); cold cut into cubes
- PEANUT BUTTER FILLING
1 ½ cups peanut butter (I use Skippys)
½ cup maple syrup
2 teaspoons vanilla extract
½ cup unsalted butter (1 stick)
- CHOCOLATE
16-20 ounces semi sweet chocolate bar; melted
1-2 Tablespoons unsalted butter; melted
Directions
Preheat the oven to 350 degrees F; line an 10x8 or 9x13 square pan with parchment paper.
- SHORTBREAD
Add all ingredients to a food processor - flour, sugar and cold butter (cut into cubes)
Pour out into the prepared pan and press down firmly until an even layer of shortbread is spread out across the bottom of the pan.
Bake for 30-38 mins until lightly golden brown around the edges
- PEANUT BUTTER FILLING
In a medium saucepan add all the ingredients - peanut butter, maple syrup, butter & vanilla extract
Let simmer over medium heat stirring constantly until all the ingredients are melted together and incorporated. It will also start to thicken
Once it has completely combined and thickened slightly; pour over the shortbread mixture and lay flat in the freezer. Leave it there for about 45 mins - 1 hour.
Once it has completely cooled and the peanut butter mixture has hardened slightly. Take it out and cut into whatever size bars you want. I typically make mine smaller because they are rich in flavor and its easier bite-sized and you get more out of it when they are smaller.
- CHOCOLATE
Melt the chocolate and butter in a double boil saucepan over simmering water (or use a microwave in increments stirring every 30 seconds).
Assemble the peanut butter twix bars by dunking each bar in the melted chocolate using a fork to life it out from the bottom, tapping off any excess chocolate and place carefully on sheets of parchment paper.
Let cool completely, placing in the refrigerator for about 5-10 minutes until the chocolate is mostly hardened but not fully. Optional: take it out at this point and add flakey salt or bits of crushed up peanut butter (make sure to do this before chocolate has completely hardened; if the chocolate is warm and melted still the salt will melt into it and not sit on top nicely)
Refrigerate overnight or until chocolate has completely cooled and hardened.


Susan
I can not wait for these! I have been patiently waiting for this recipe to drop and I am INCREDIBLY excited! Homemade candy beats everything! 🙂
sugaredkneads
Thank you so much! It took some time to get it up but its here! Enjoy!